Ok, who’s ready to go on this hydroponic adventure with me? I’ve been working ridiculous hours the past couple of years and have completely neglected my veggies! So I’m on a mission to restore them and get a greenhouse to protect them from the rabbits, rats, and snails!
I’ve spent the better part of the past week stalking every hydroponics YouTuber out there. HUGE shout out to Mike Van Duzee and MHP Gardener. I’ve learned a ton about the various ways to grow veggies hydroponically (<– is that a word?!)
Mike shows inexpensive methods using items found around the house. MHP Gardener shows how he made dutch buckets with a water pump set up, floating hydro, and the ever-beloved BA Kratky methods.
My goal is to test my soil against hydro and see how they fare and taste. Thanks for joining me along this journey!
Mike’s use of micro-greens is fascinating. It’s how he starts his seeds as well as get micros for his juices. He literally grows these tiny things – some as little as 2″ – then transfers them to Kratky containers.
I took his method a step further. As I was cooking, I noted the styrofoam holders. Styrofoam floats, is easy to cut, and would like work.
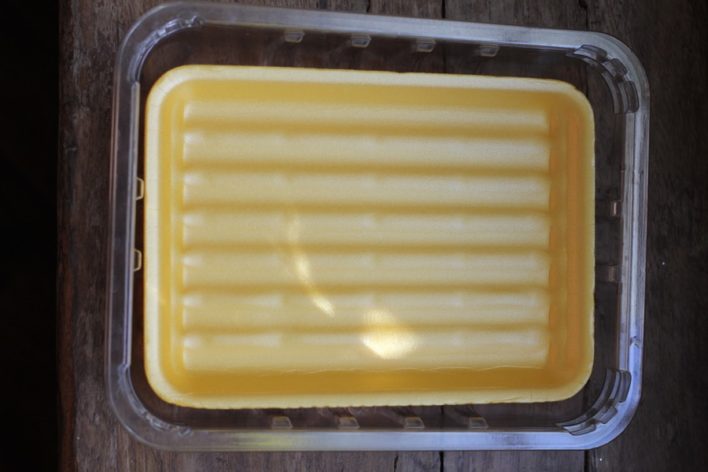
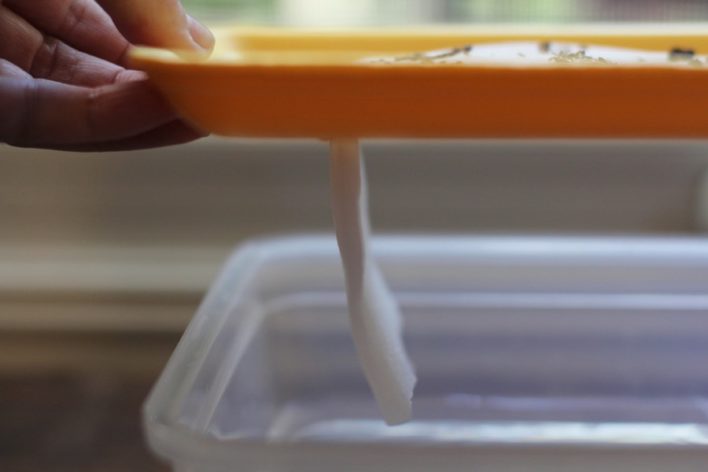
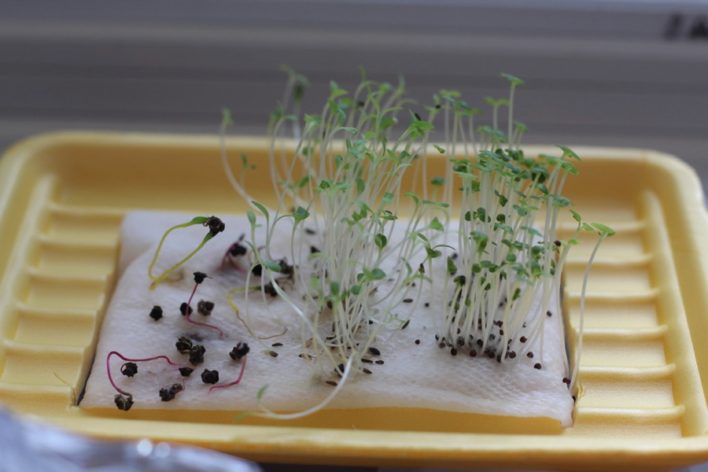
Method 1 :: styrofoam frozen food tray (cleaned thoroughly, of course) with paper towel water wicking mechanism
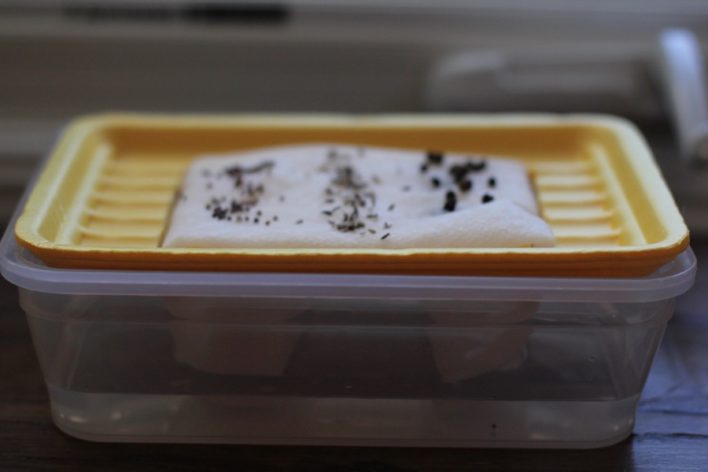
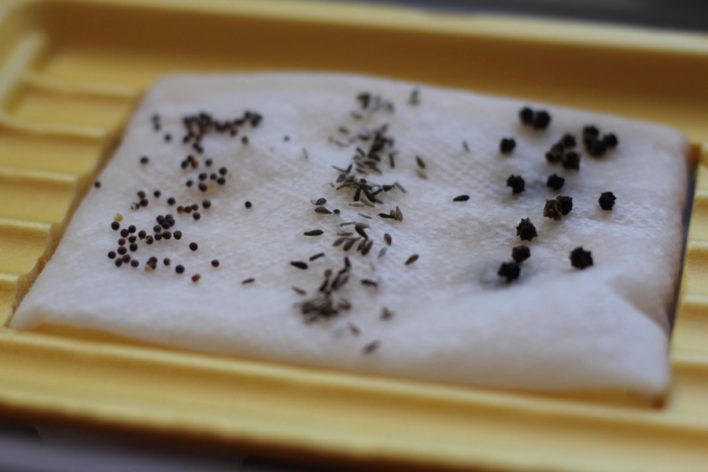
I cut two slots for the paper towel wicking mechanism. Filled the bottom portion with regular water (we have filtered water at the house), and put a bunch of seeds atop.
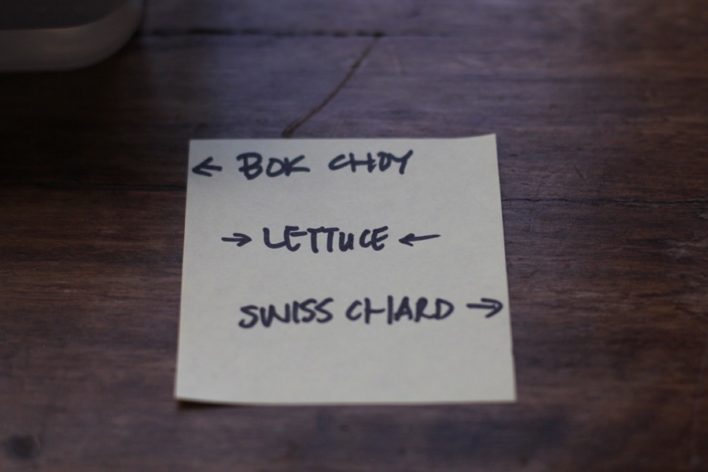
Bok choy. Lettuce. Swiss chard.
Once the paper towel hits the water, it immediately starts wicking and keeps the seeds moist.
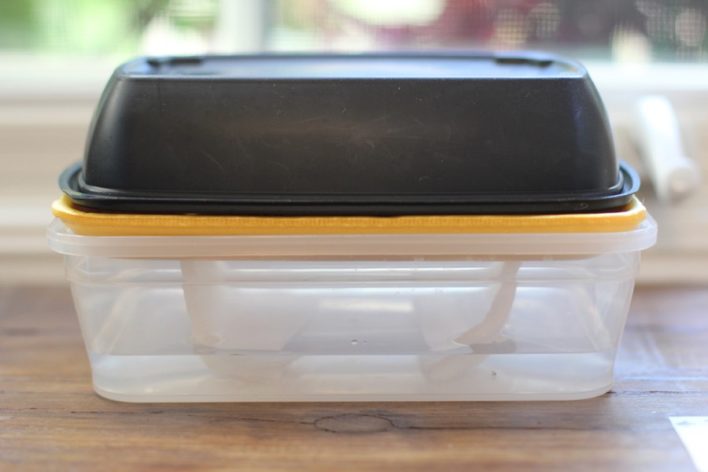
I didn’t have a grow mat, so just tried it on the paper towel. I have no idea if this will work, but stick with me! Then I used another dark container to cover these for the first 3 days.
Note to self….
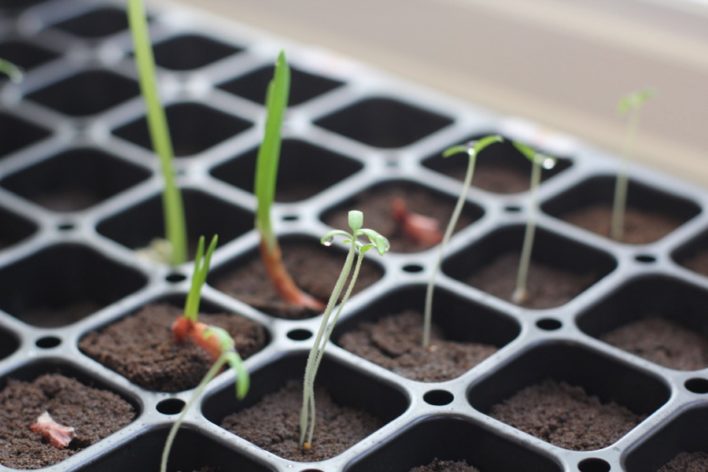
Just 3 days later, these guys were all sprouted! I have no idea how I’ll remove the fragile little buggers from the paper towels, but I’ll try in the next few days.
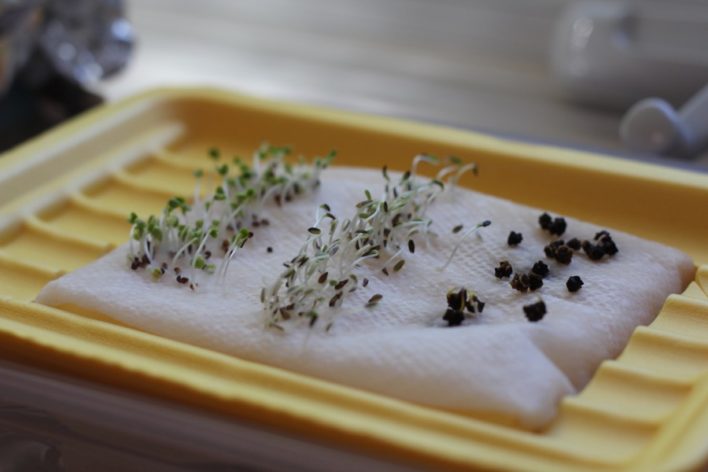
This is after a full week of growth. The Swiss chard ain’t looking too strong. Likely b/c the roots have nothing to grab on to.
Method 2 :: seedling container with Root Riot
A day later, I strolled into Hydroponics, Inc, a store I’ve often driven past while headed to the Palm Desert. They were nice as can be, very knowledgeable, and yes, I was the only person asking about growing veggies vs. cannabis. Hey, if hydro is good enough for Larry Ellison, then it’s good enough for me, right?!
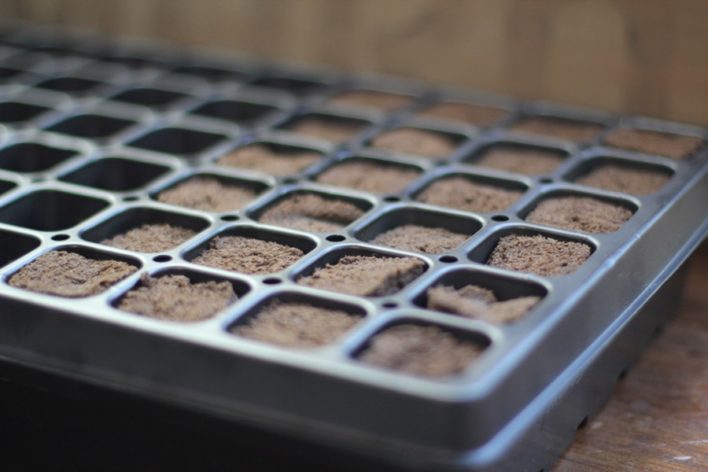
I bought Root Riot b/c I’d read really good reviews on it. It’s an all-natural substance typically used for cloning plants, but I repurposed for seedlings, just to see if it would work.
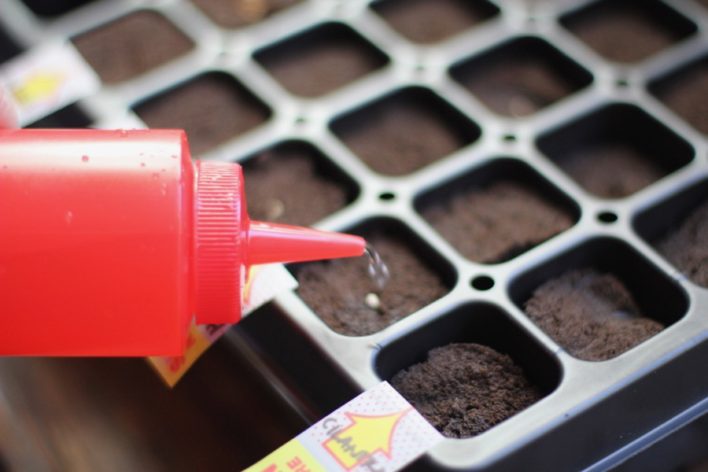
I took my handy dandy chop stick and punched larger holes for good measure.
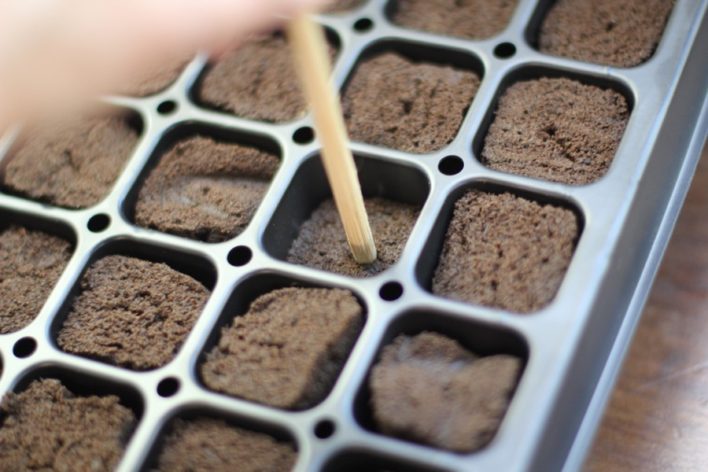
Then, using my $.99 ketchup dispenser, I watered each seed with a single drop.
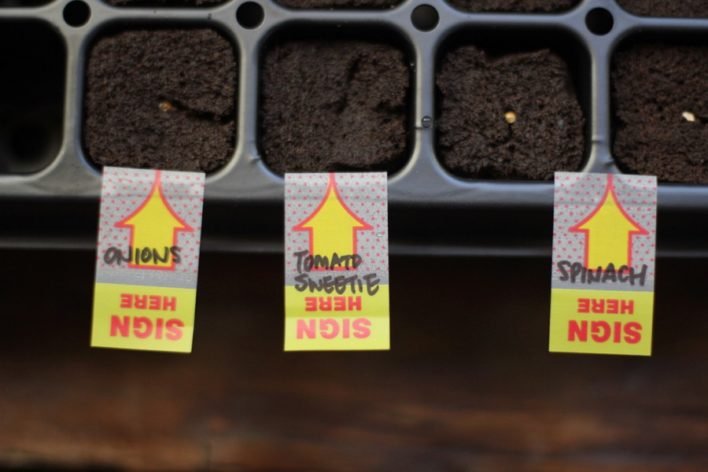
Sign here, sign there…sign this, sign that..
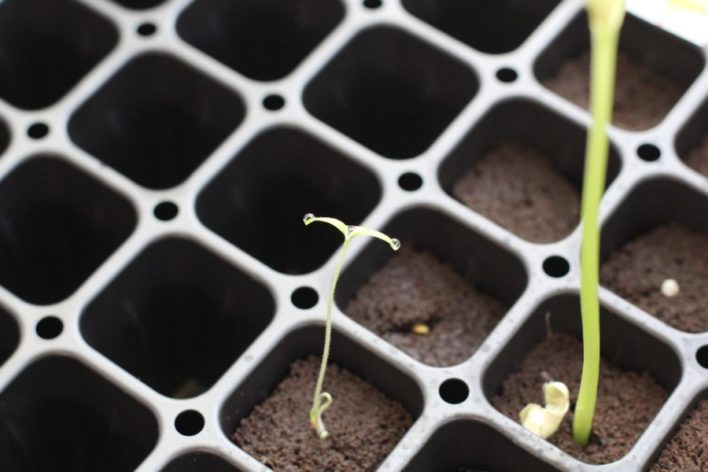
These didn’t sprout as quickly as my first method with the styrofoam floating trays, but when they did, they sprouted quickly!
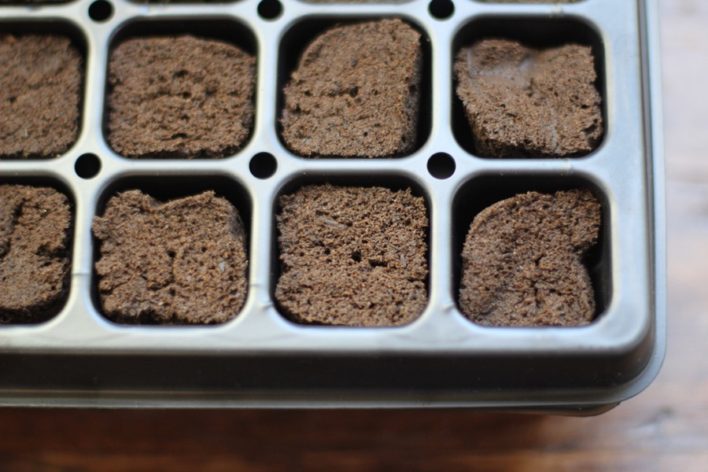
Perhaps it has something to do with the clear cover as the others had a dark lid. This system is intended for clones, so perhaps the light didn’t facilitate the sprouting as well. But as you can see in the photo below, the humidity is really good.
I popped these two tomato seedlings out. 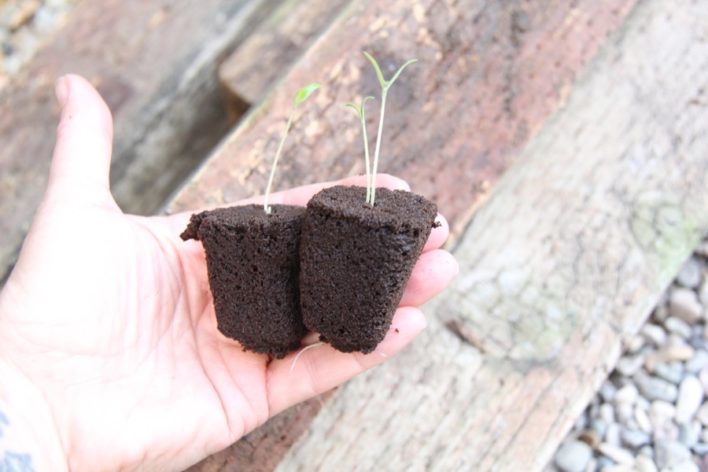
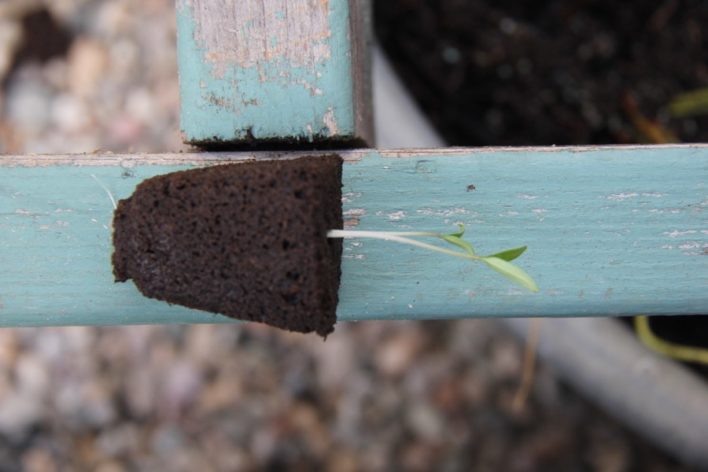
These Root Riot pods hold a lot of water!
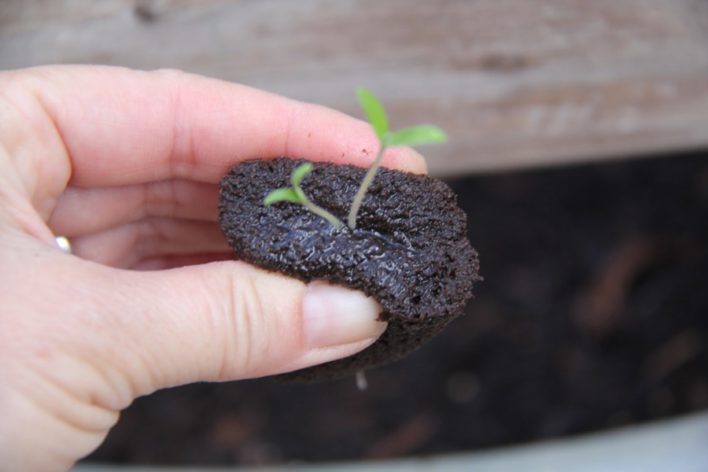
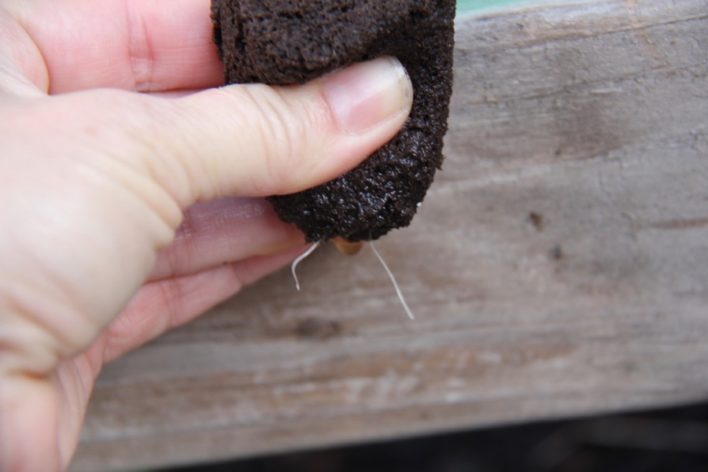
And roots had already poked out the bottom. So I figured it was time to test a transfer.
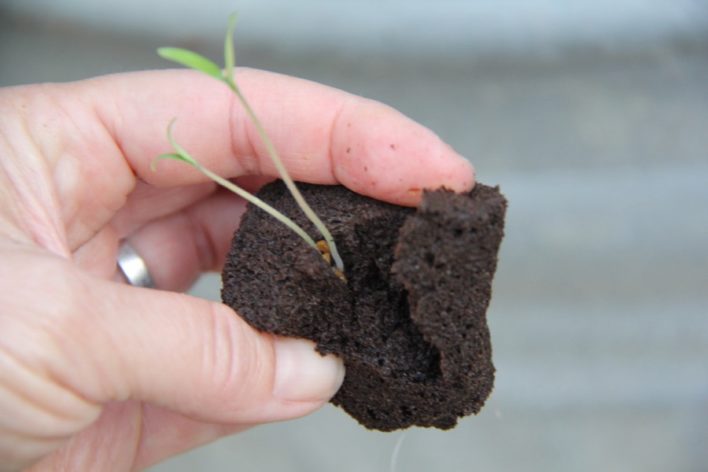
Wasn’t sure if I should stick them directly into my Kratky container…so I broke one apart. I’m pretty sure nothing bad would happen if I stuck this whole thing into the container give it’s all natural materials, but I thought I’d try to get as much of it off the seedlings in this test.
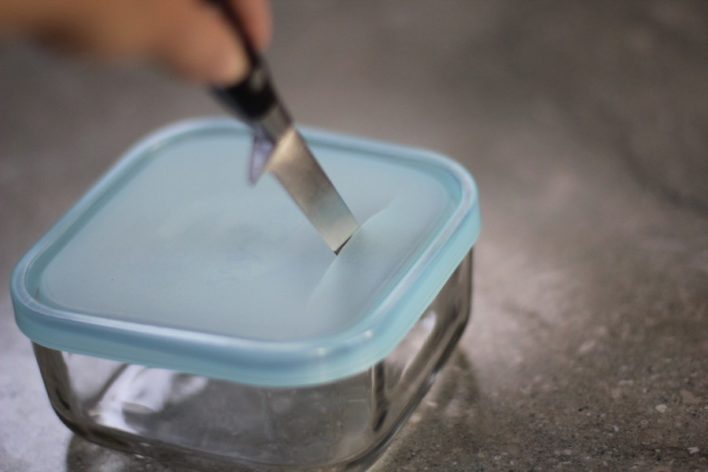
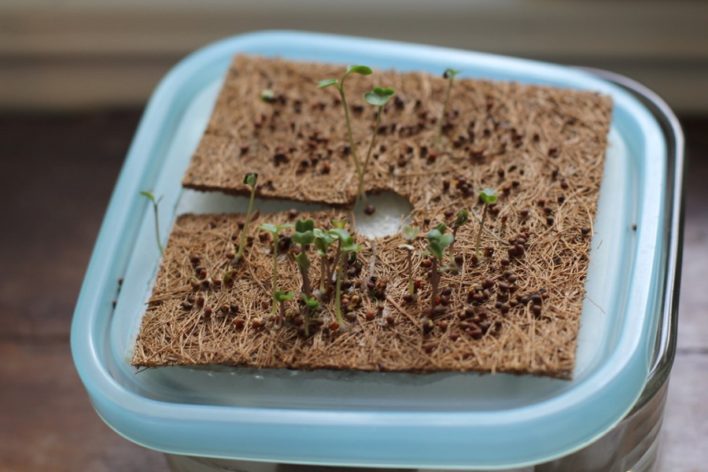
Method 3 :: glass container with more sturdy lid + coco coir
My next test was with a $.99 glass container. The lid was soft and seemed easy enough to cut. And it was.
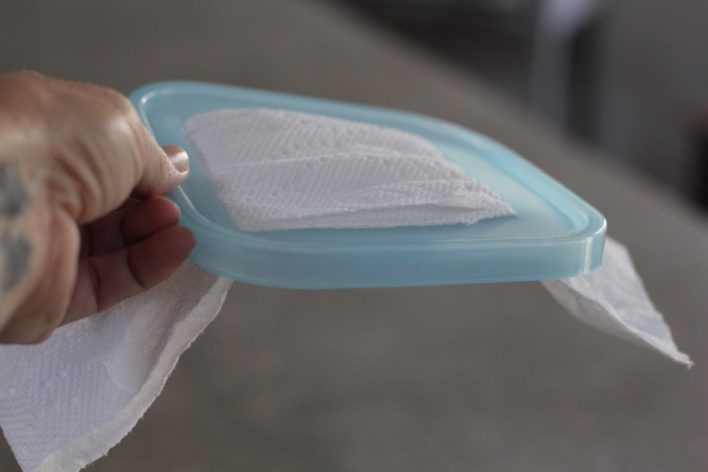
Again, I used the paper towel, flying nun method Mike VD shows in his YouTube vids.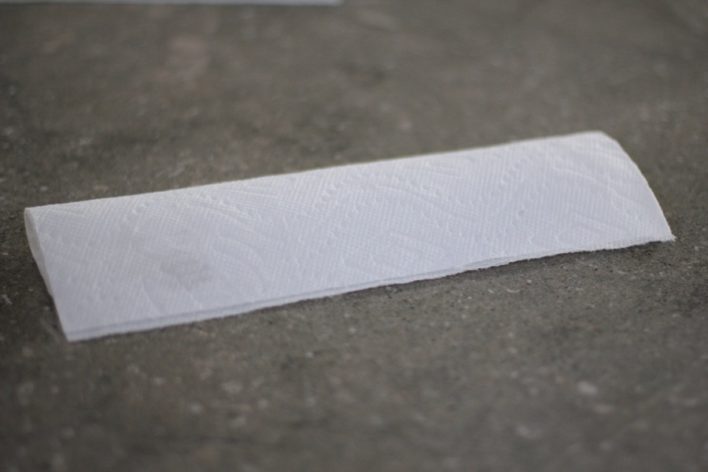
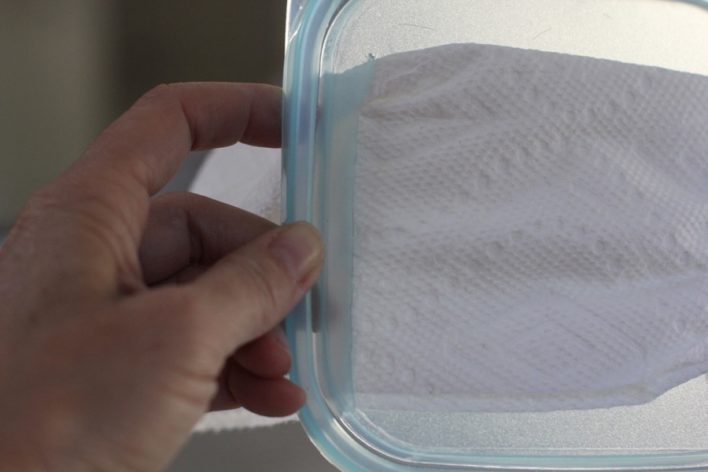
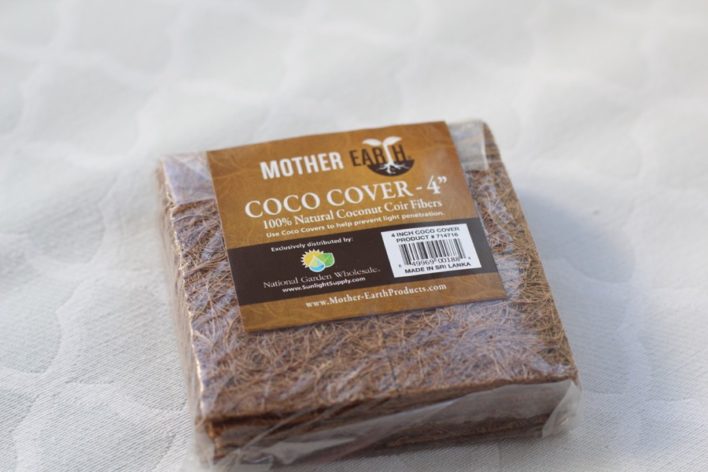
I also bought this coco coir at the Hydroponics store. The problem is that it didn’t seem to wick up any water whatsoever. And no duh…have you ever seen a coconut on the beach? None of that sand or beach water gets inside! It’s impenetrable. But I went with it as a test anyway.
Needless to say, this method was horrible. The best sprouts are the two in the dead center that are on the paper towel! 🙂
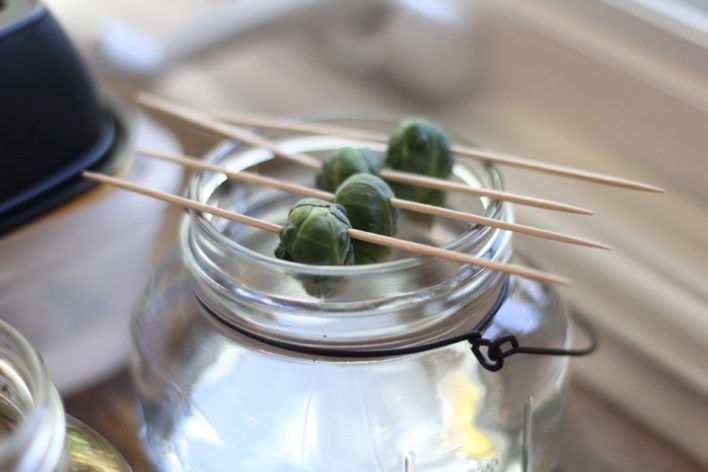
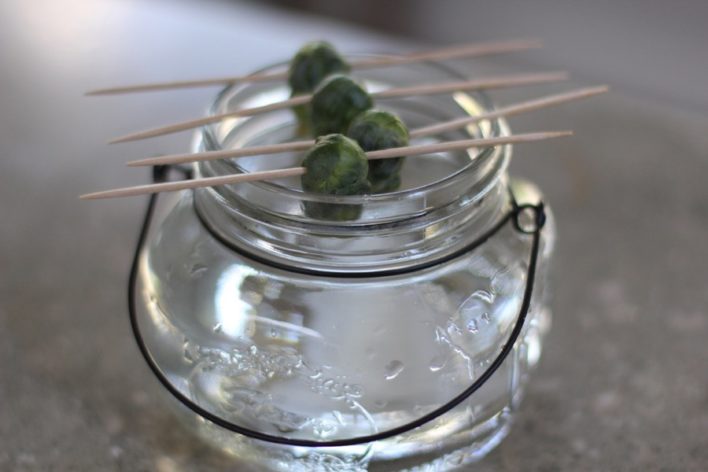
I figured I’d also try rooting some brussels sprouts from our garden. I mean, why not, right? Nothing. Nada. Zilch. Zippo. Just started to get a bit mildewy.
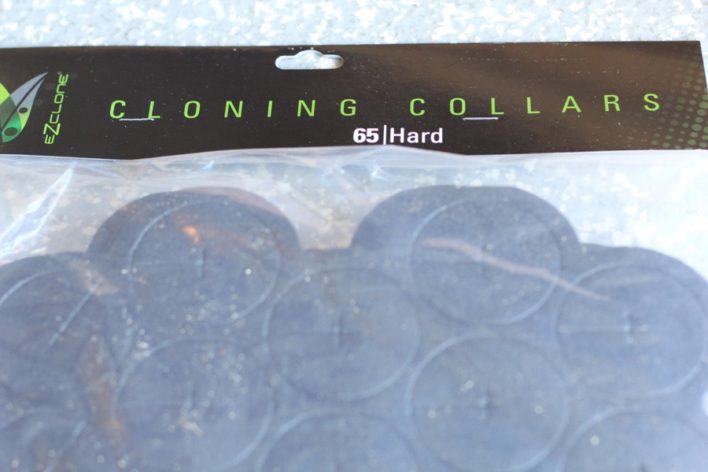
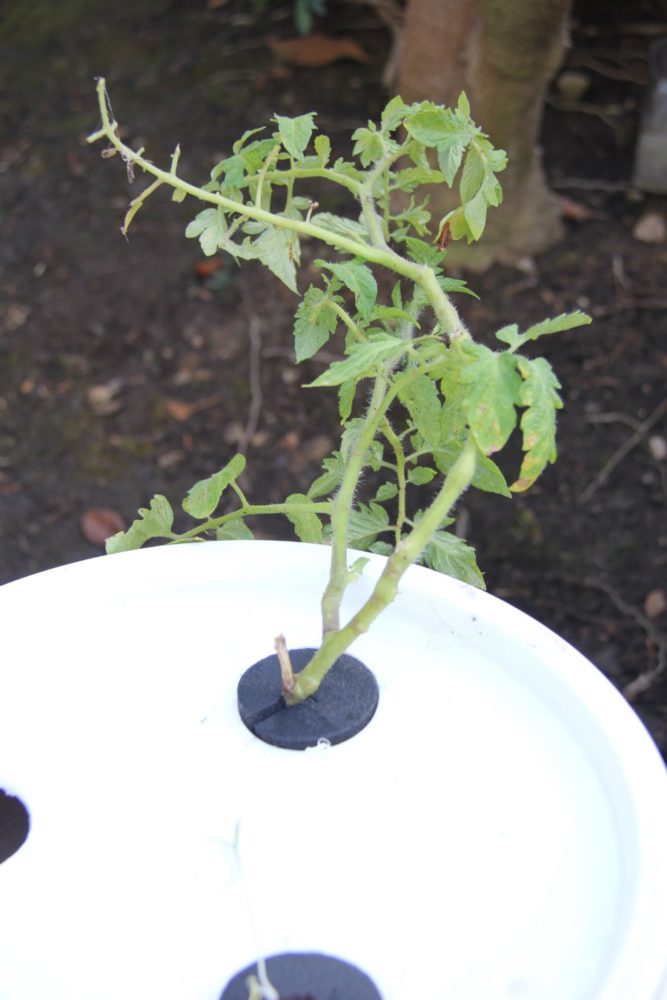
Mike Van Duzee uses swim noodles instead of plant cups, rock wool and stones. I found these Cloning Collars at the Hydro store. 99 Cent Store didn’t have any pool noodles! This is So Cal…what gives?!
This is a pretty cool shot. God is with me, even in my hydroponics adventure!
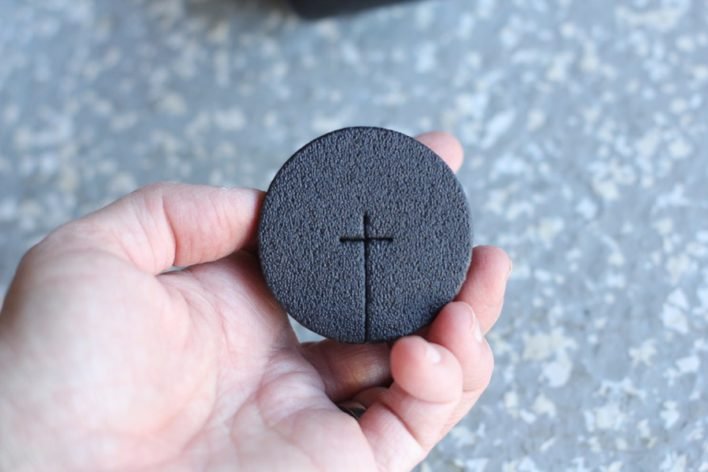
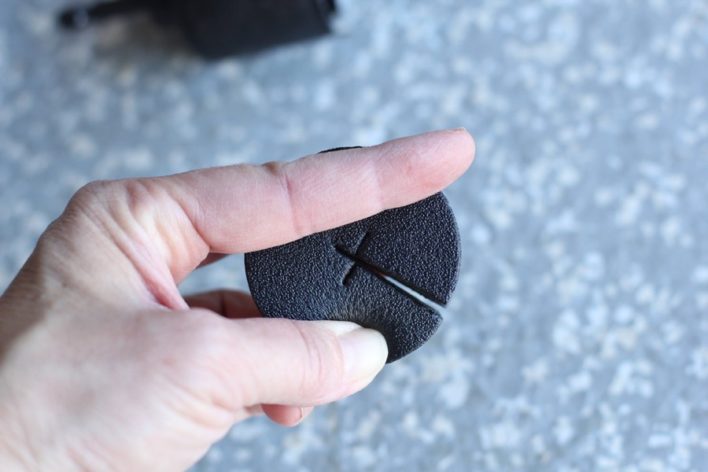
You slide the seedling or clone into the opening and put it in the container.
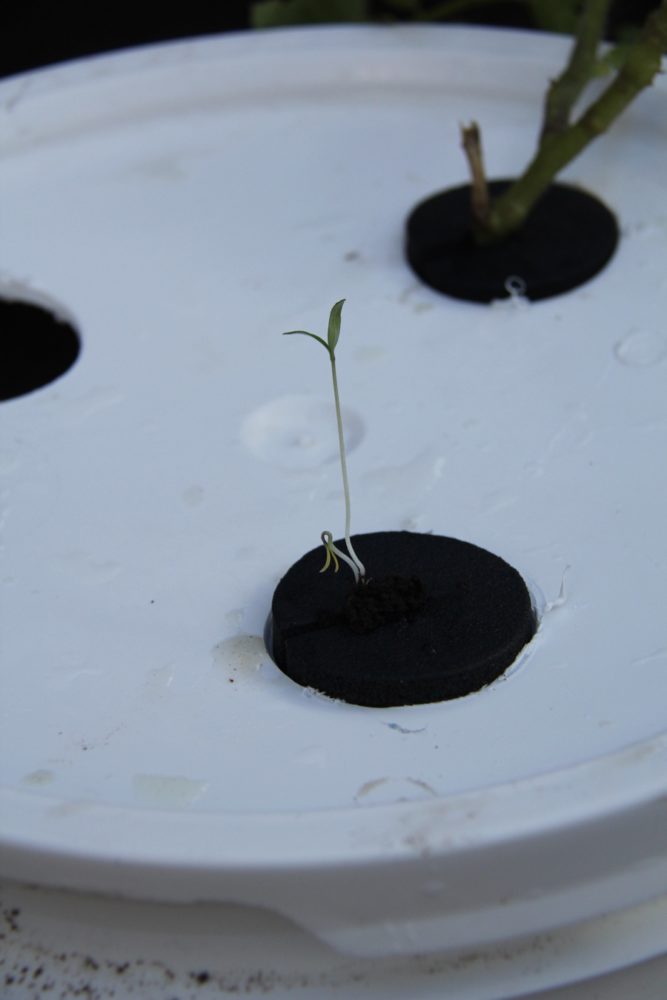
So that’s what I did with the tomato seedling and a rogue tomato plant that sprouted in the soil in the back yard. See it in the background?
MHP Gardener has recently been testing transferring regular plants you buy at the nursery and sticking them in his Kratky containers, and they’re working great!
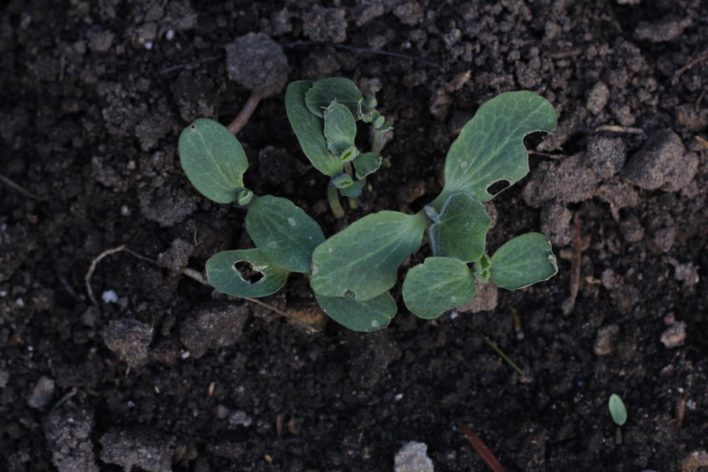
So I’m trying the same with these butternut squash seedlings that sprouted after I threw the remnants of a butternut squash in the yard. Leaves are getting eaten by snails! Can’t wait for my greenhouse to out-trick the rabbits and snails!
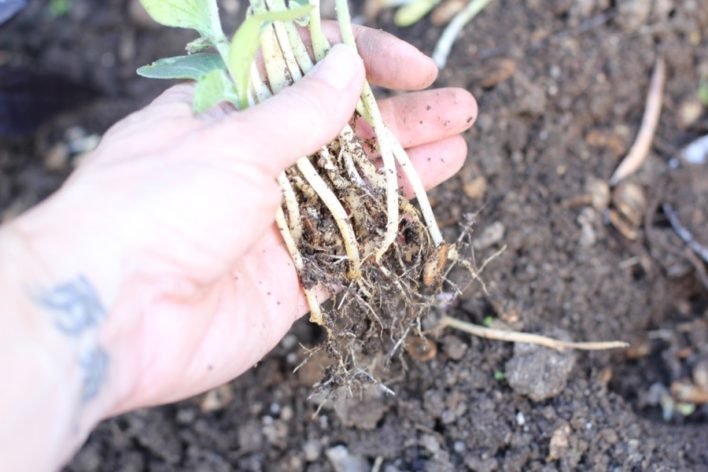
I dug these out carefully and rinsed them. Don’t think it’s necessary, but I did anyway.
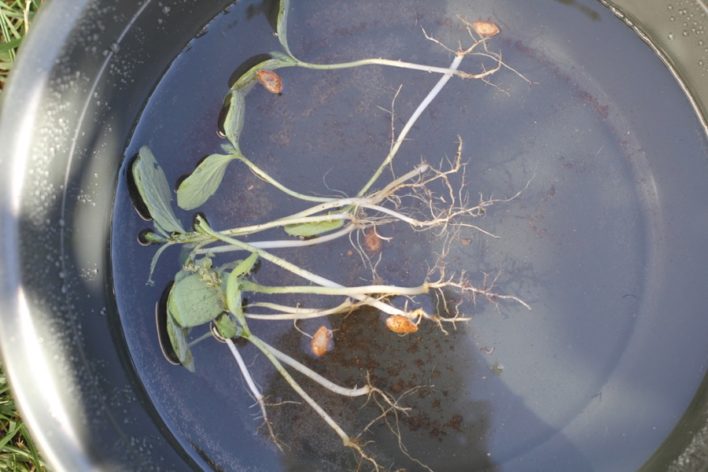
Swim! Be free!
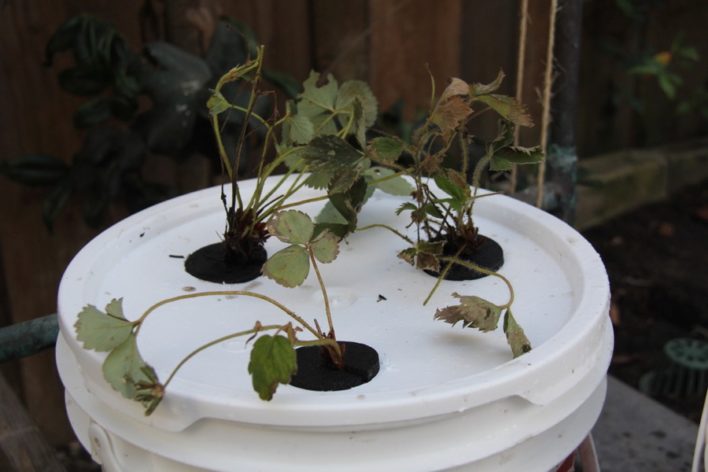
And I dug out some strawberry runners. These are sad and sorry, but I’m seeing if the nutrients will help in any way.
Now, let’s talk about using down spouts for kratky containers. Mike Van Duzee’s video is pretty nifty.
I thought I’d out-smarted him by using the angled pieces that fit the down spout. Look who’s laughing. Not me. The water didn’t hold!
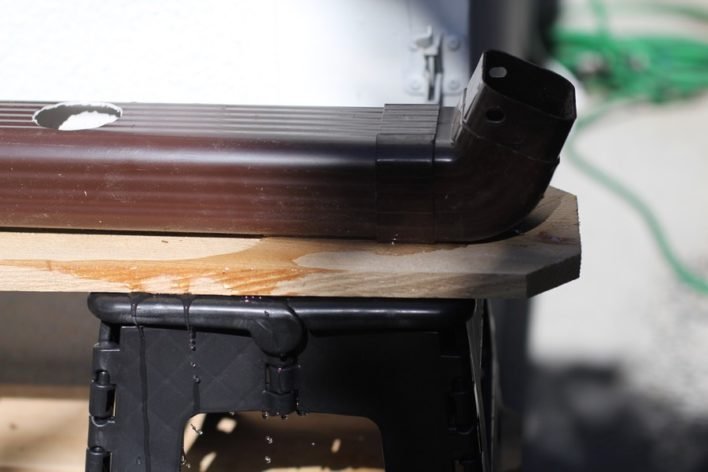
Dripped all through my makeshift shelves.
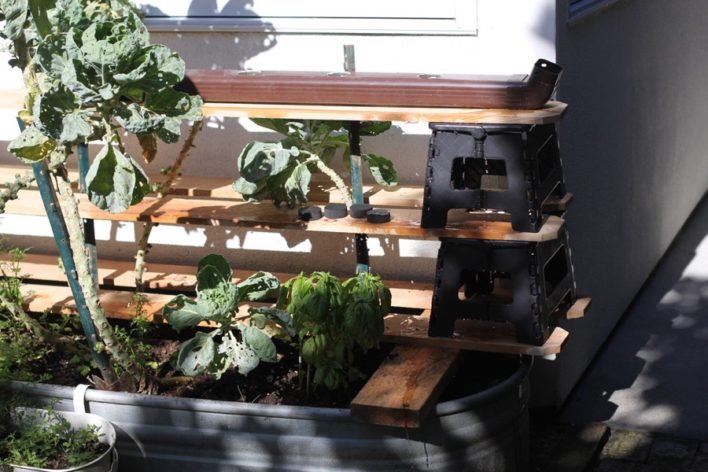
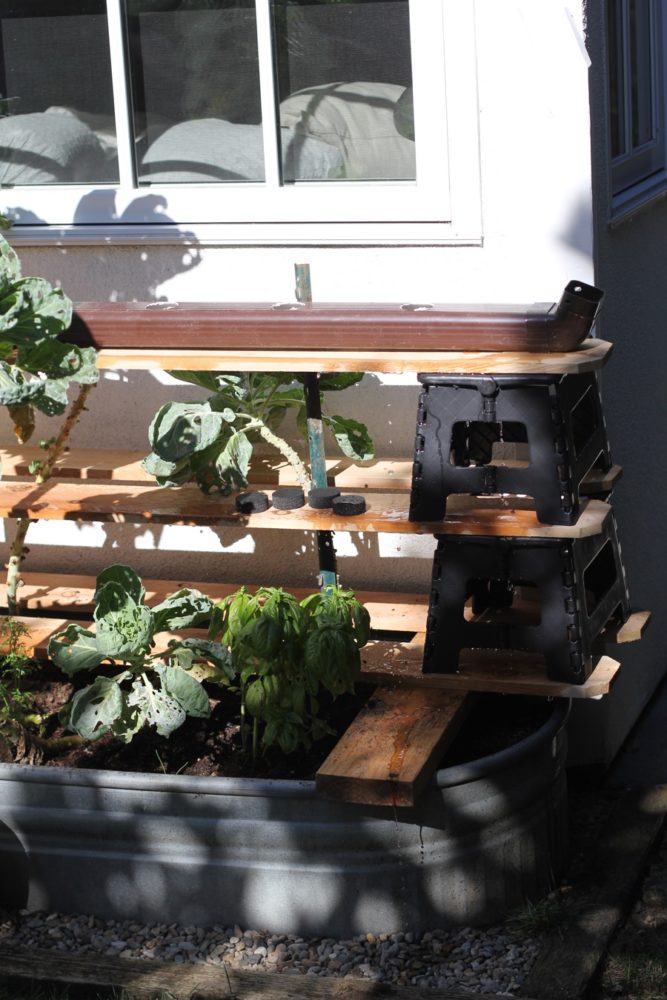
Heh! As you can see, my brussels sprouts are growing like crazy and I didn’t want to dig them out, so I’ve created shelves for my down spout Kratky containers to work around the brussels. 🙂
Anyway, that’s the first bit of my journey thus far.
I have a greenhouse en route. I’m prepping the area for it to be constructed and will report back.