When we first moved to this house, I decided to paint a bathroom orange. Why orange? I don’t know why. It just felt right.
And now…it feels oh so wrong.
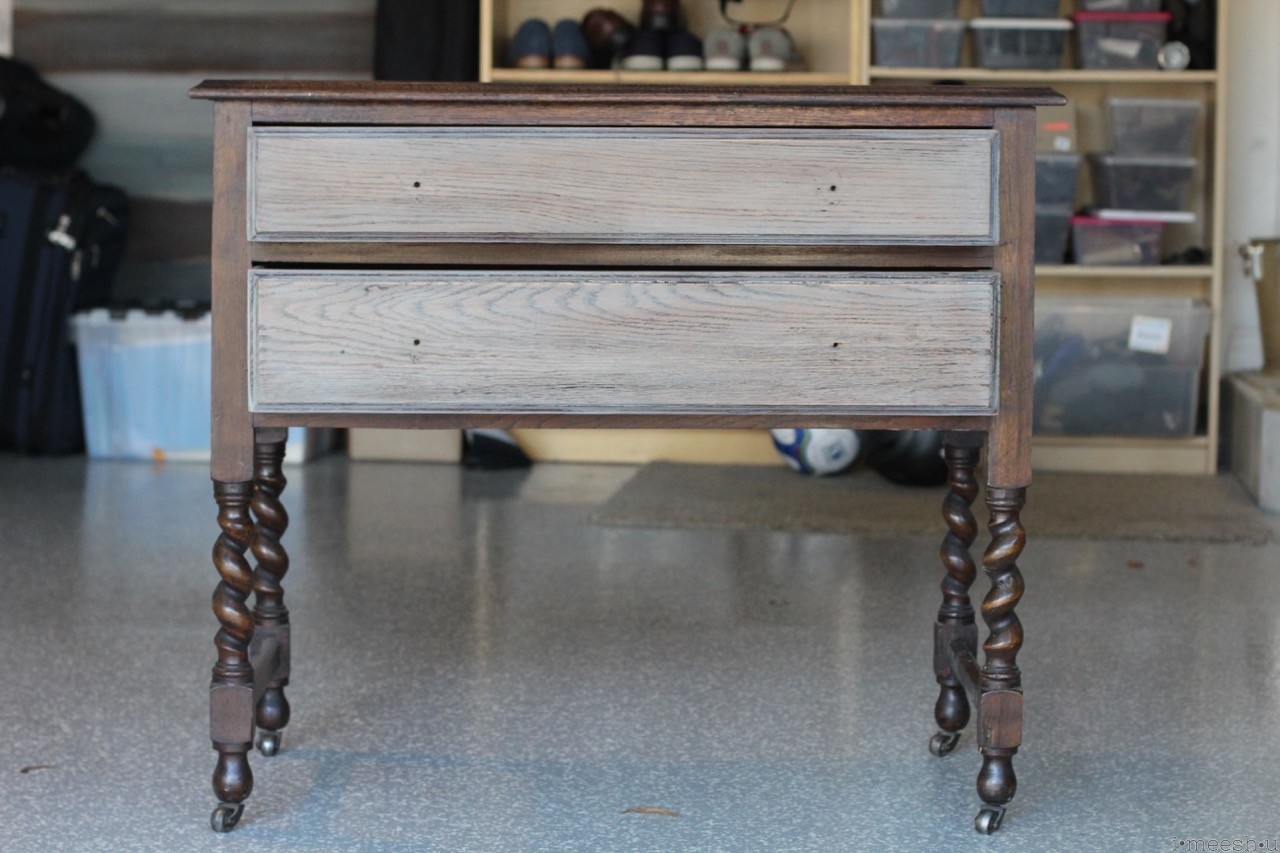
So…I’m on a mission. Naturally, I start on Craigslist to find the perfect vanity.
But there’s something about this glaze that wasn’t sitting well with me. So I sat on the decision for over a week.
This piece is so pretty and fits the space perfectly. And I was really torn if I should even paint it.
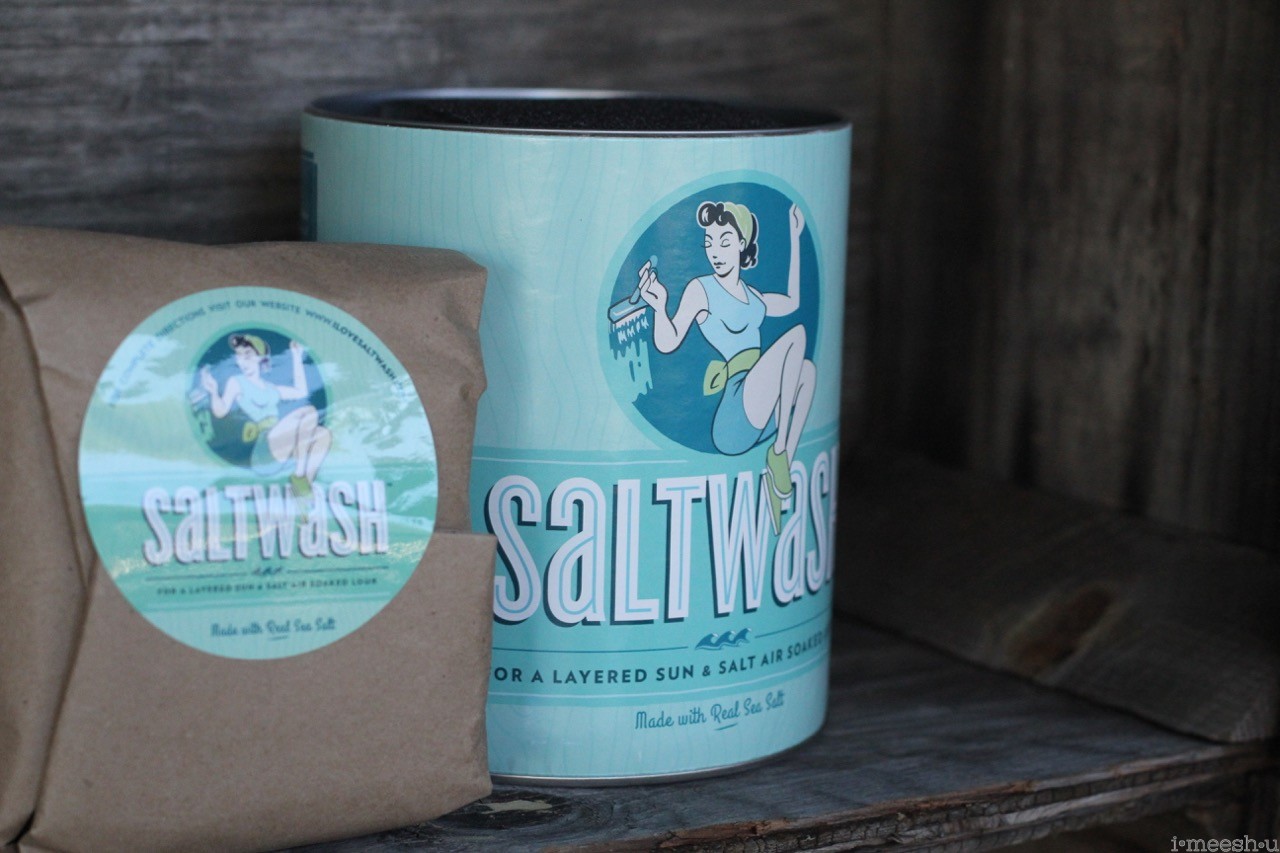
And ultimately, I decided to go for it….because our little bathroom is very dark and our floors are dark. I needed a pick me up in the small space. And let’s be honest…I REALLY needed to try Saltwash. Jaime and Carol, the owners and founders of Saltwash, are my new BFFs. They started this fun brand and I’ve been Insta-stalking for about a year.
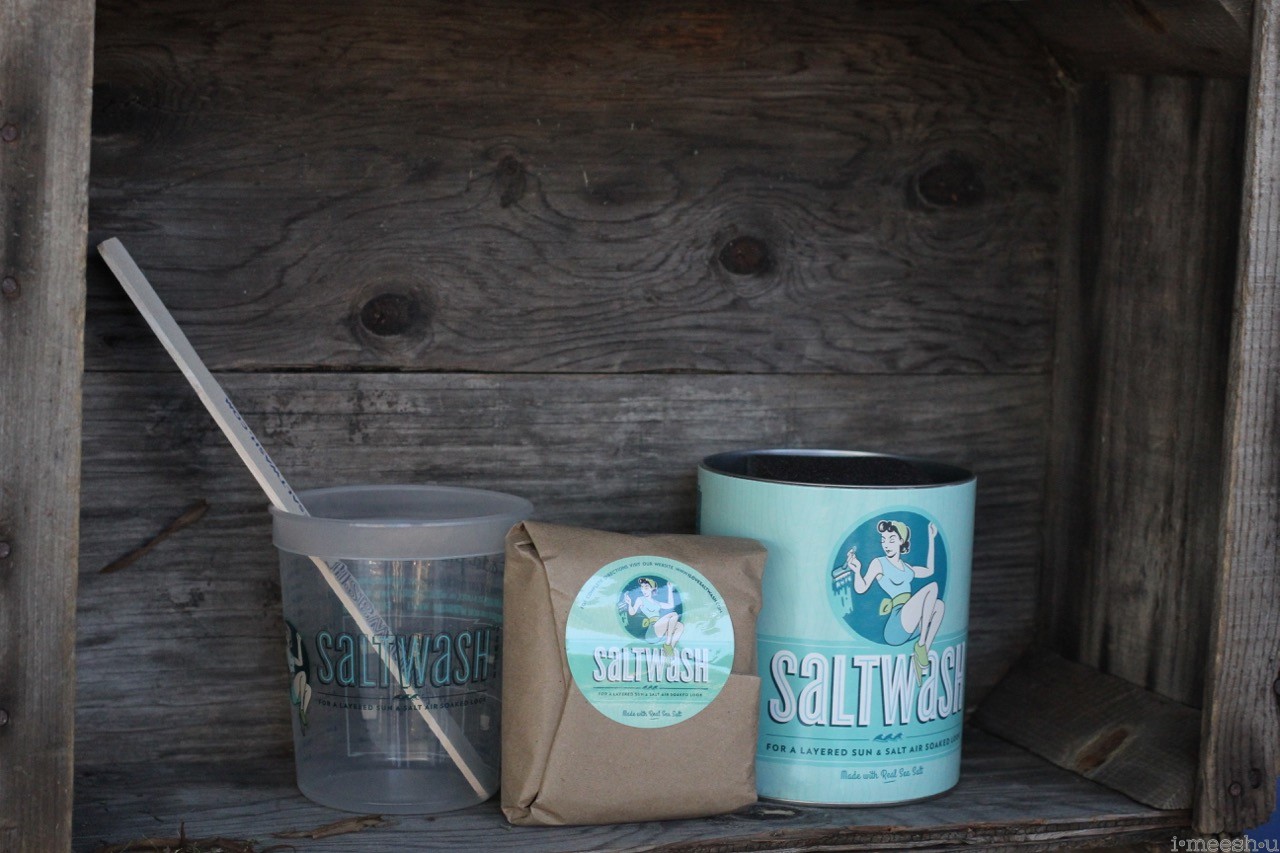
So I wrote them and bought some product! Look at how cute their retro packaging is. Fresh, happy, strong. I love it!
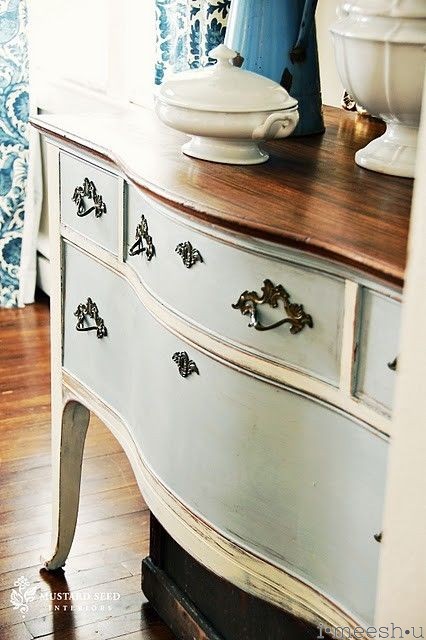
These were my inspiration pieces that I’d pinned years ago. Of course, one from Miss Mustard Seed! #love
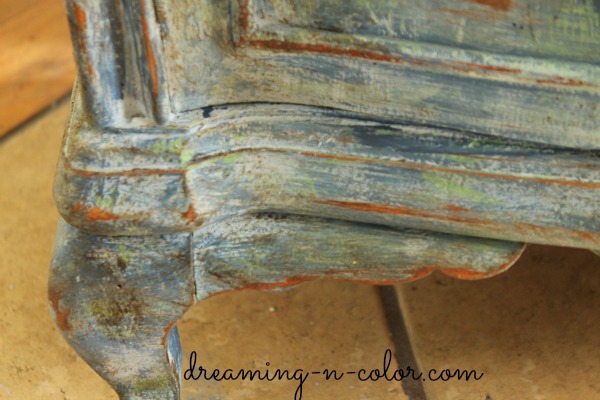
And this dreamy, yummy piece from dreaming-n-color. I love the colors that pop through. But I wanted more chippy and physical layers.
Saltwash comes as a powder that you mix into any type of paint. And if you know me, you know that I’m partial to chalk paint, but I’ve got a lot of other oops paints and varieties laying around. So I’ve been excited to trying this new product.
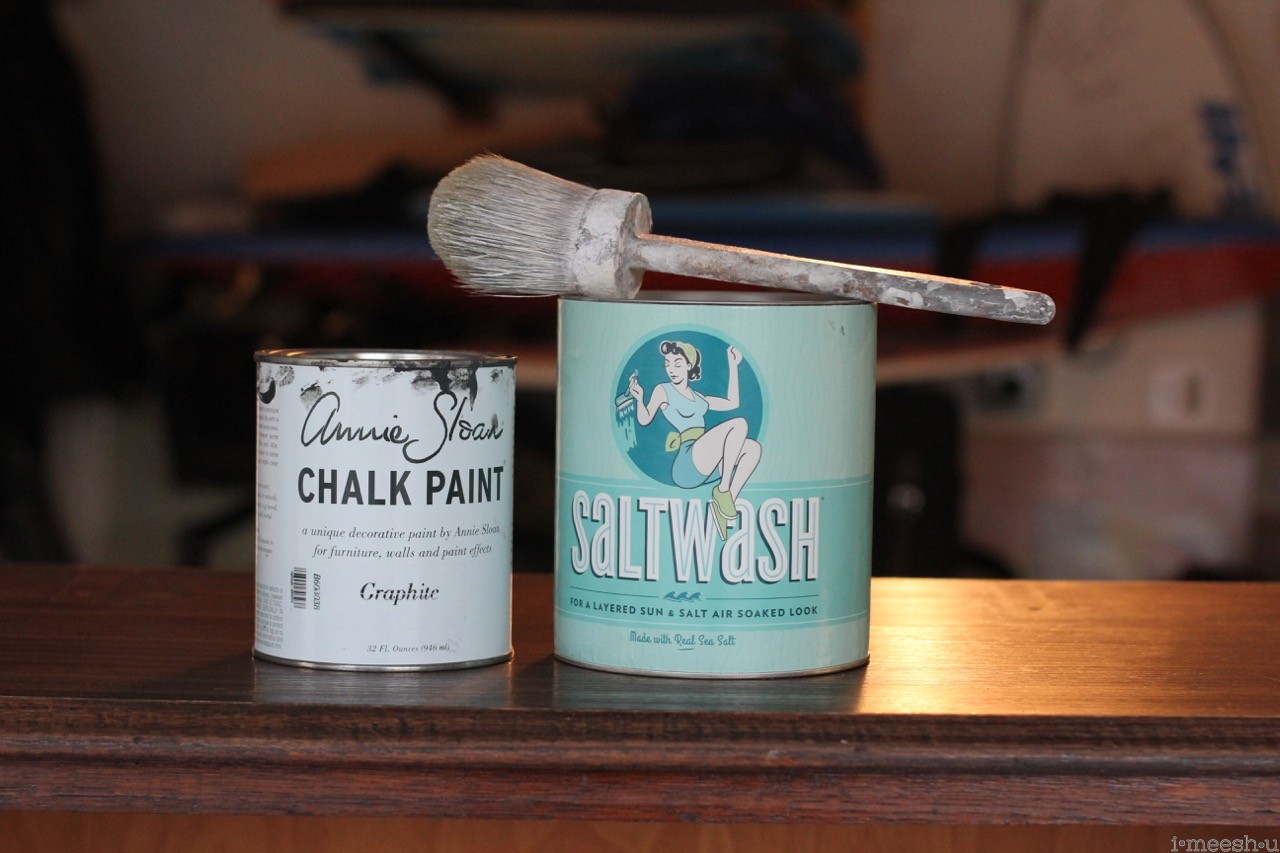
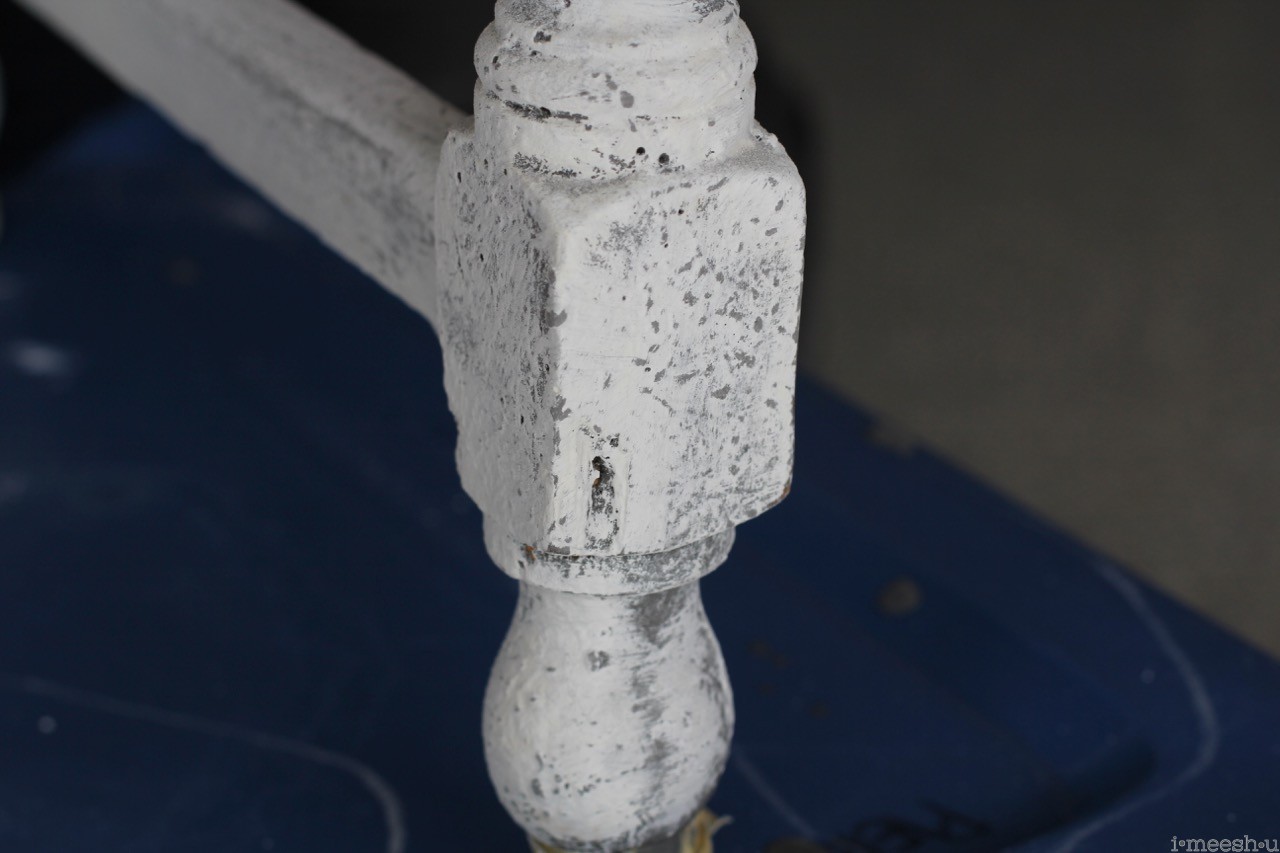
For this vanity, I used Annie Sloan Graphite + Saltwash as my base on the body. I wanted the top coats to be white and blues, but with a dark gray to show through once sanded back. I added enough Saltwash powder to make the paint the consistency of cake frosting. And not the kind one leaves in her fridge for the occasional late night scoop….but the kind that’s been sitting on the counter….not that I have icing in my fridge….that you know of….
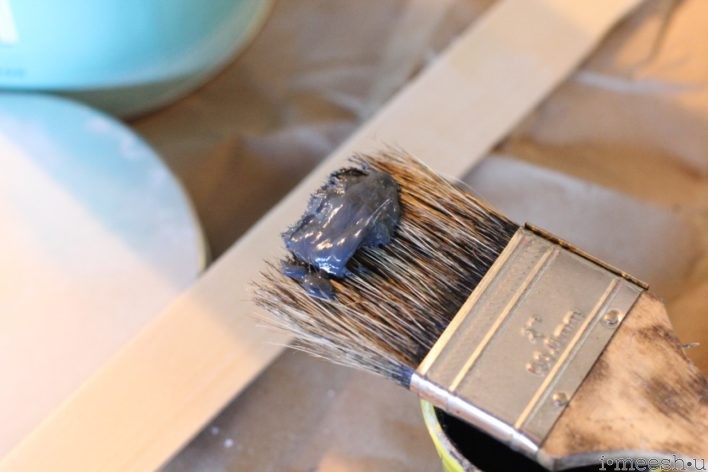
Then you gloop and dab the thick Saltwash mixed paint. I knew that I wanted this piece to be very chunky and chippy looking, so I glooped it on very thick.
Here’s a shot of the side of the vanity. Dab dab…gloop gloop.
Then you let it dry just enough so that the bumps and peaks are no longer runny, but not totally dry. Of course, the dry time depends on your temperatures and humidity. I painted this on a hot, yet unusually humid summer day here in So Cal, so it took about 30 minutes before I felt comfortable knocking down some of the peaks with my paintbrush.
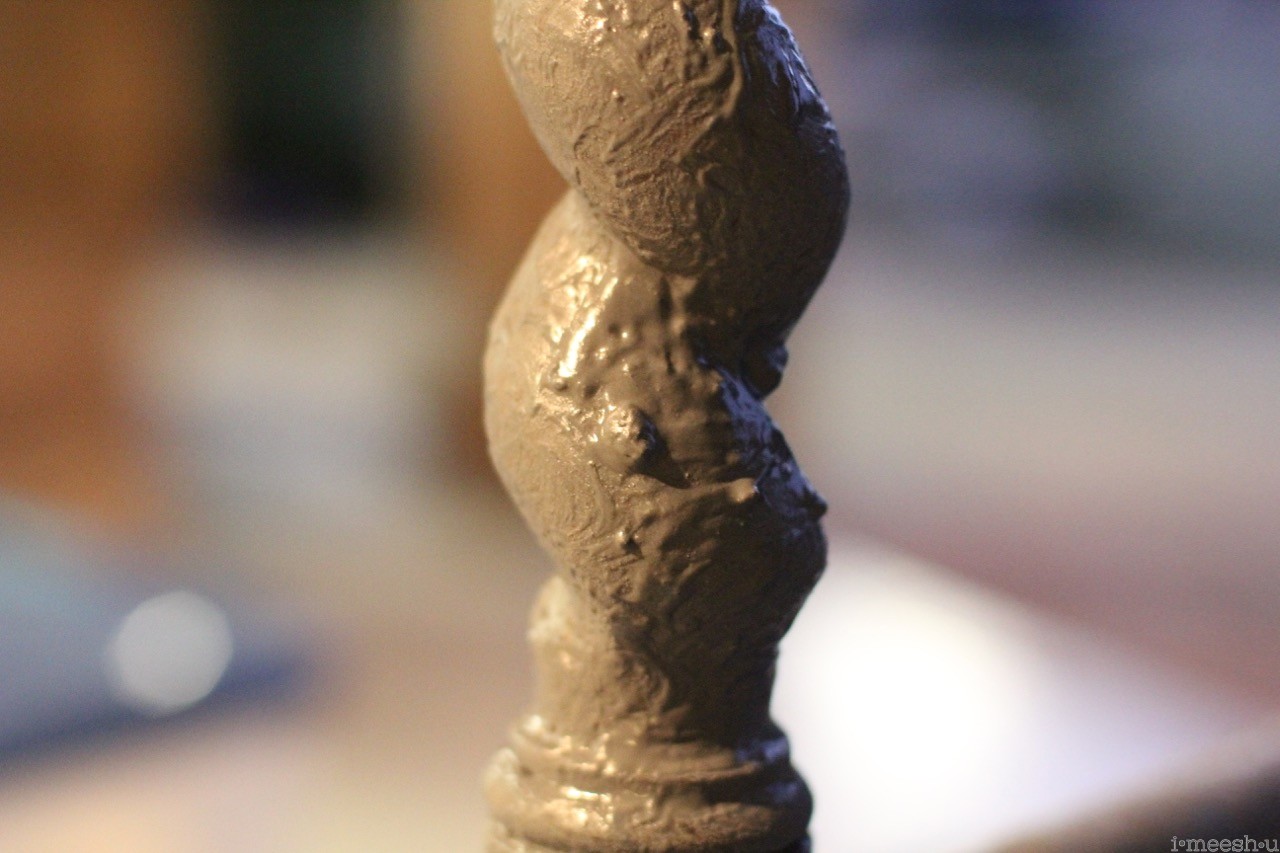
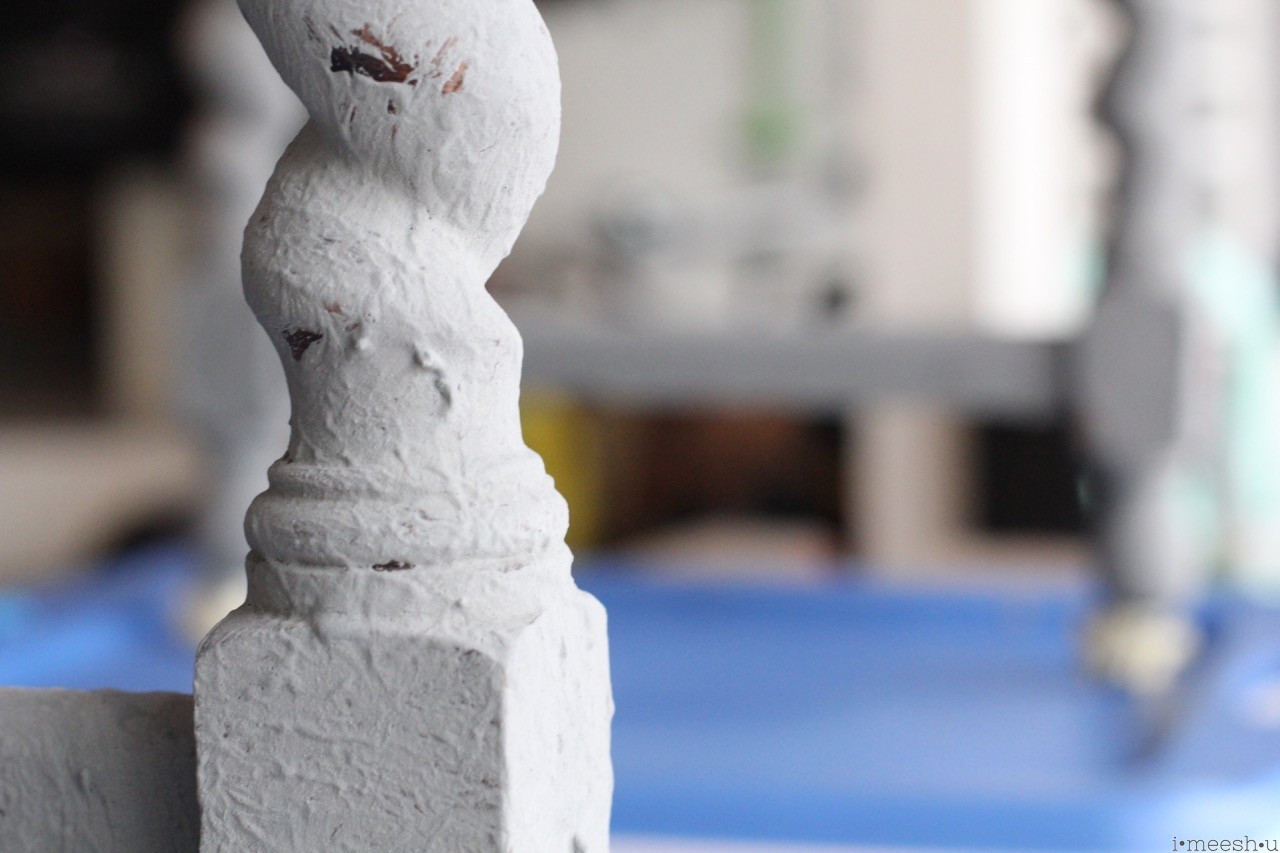
I just gently dragged the brush over the bumps (this is a shot of a mirror I also painted with Saltwash…I knocked the peaks down on this more than I did on the vanity).
If you want a really bumpy and chippy looking piece, you may not want to knock down the peaks. If you’re looking for a more refined look, knock those peaks down! The more peaks, the more texture and depth your piece will have, which is what I did for this vanity.
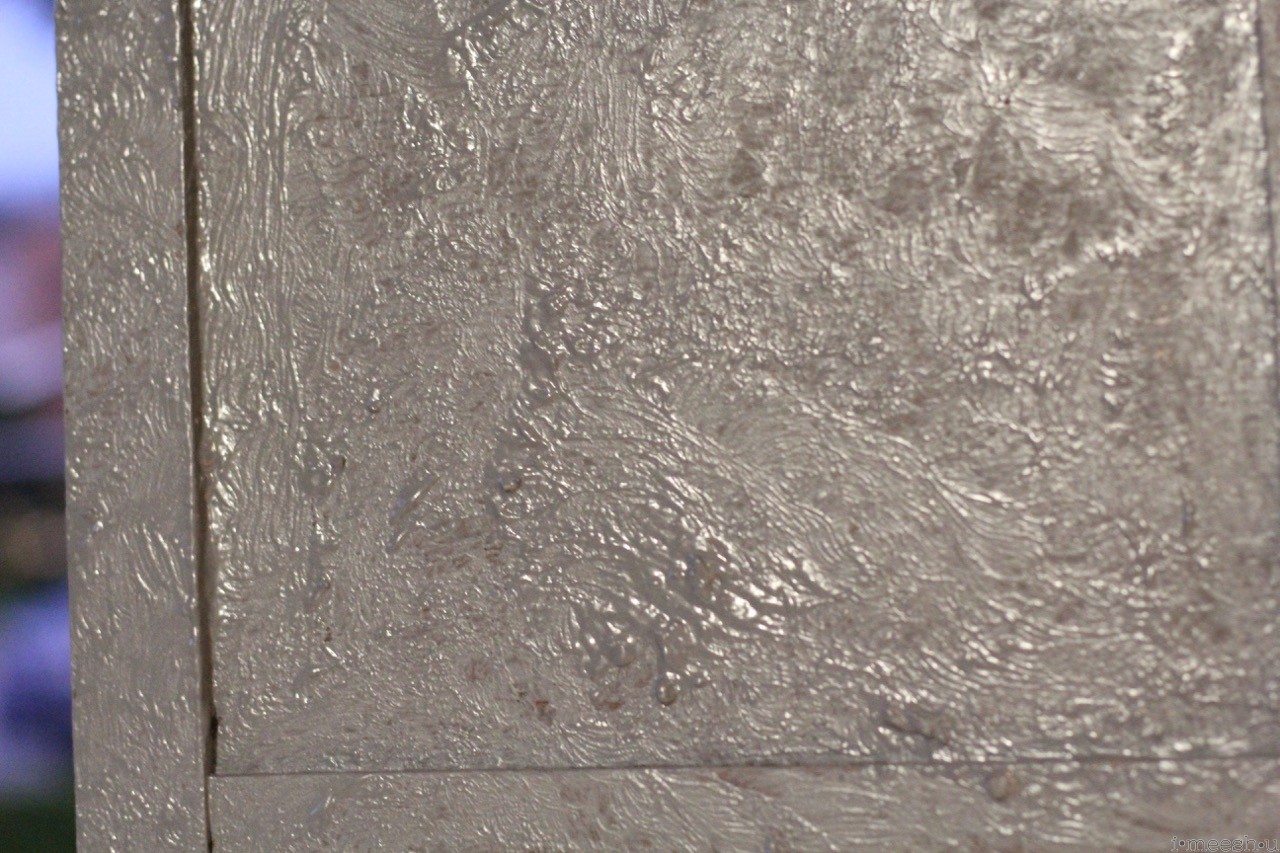
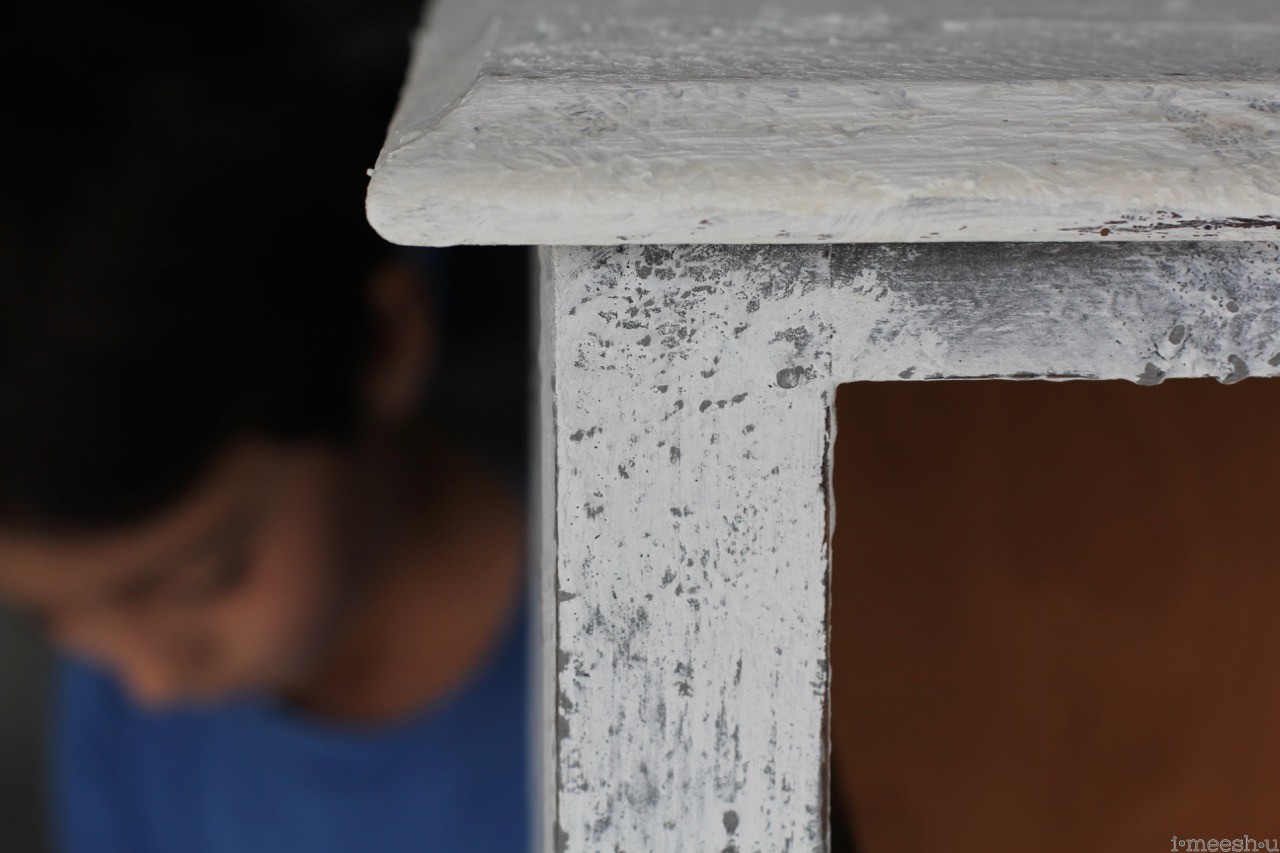
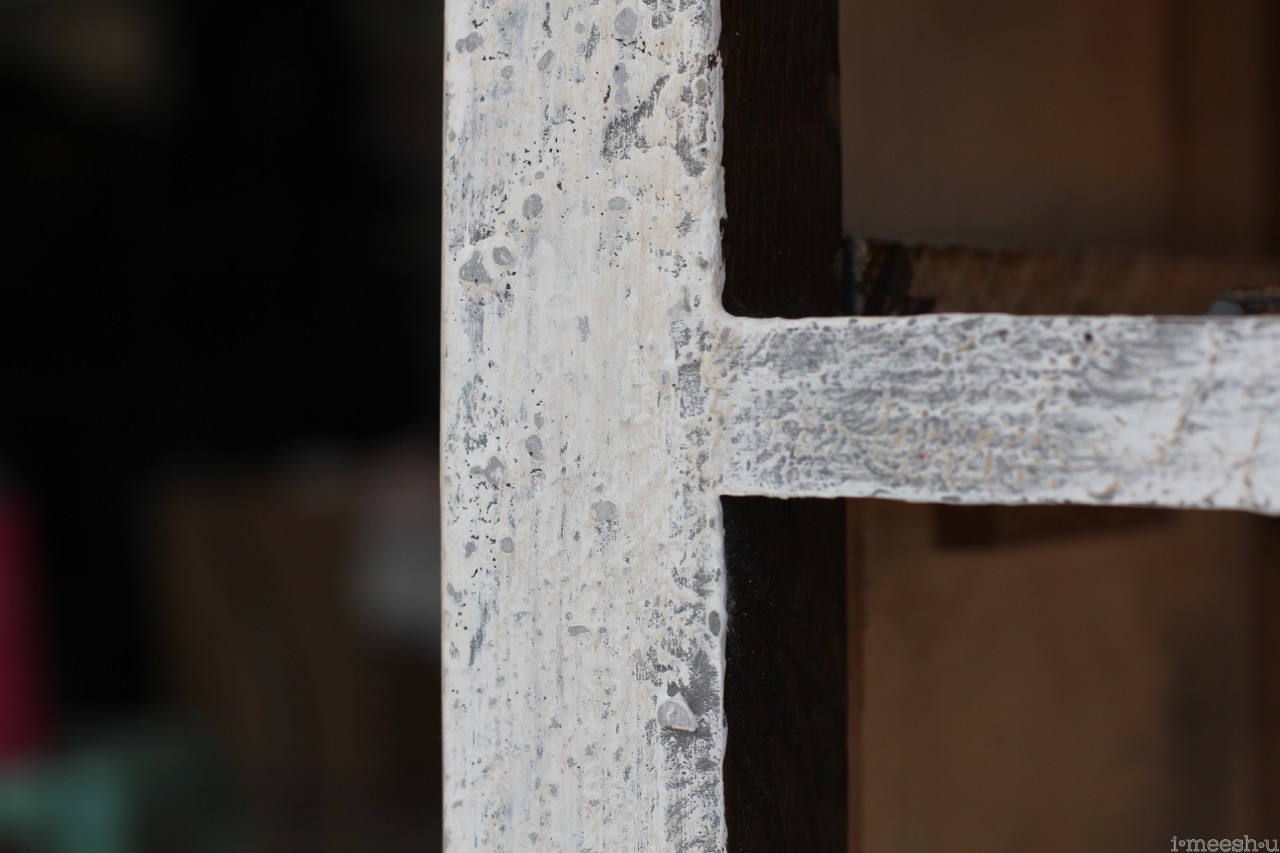
Once the Saltwash layer of paint is completely dry, paint your top color. I painted the body of this vanity with Annie Sloan Pure White but wasn’t too careful about covering all the bumps as I wanted some of the foundation layer color to show.
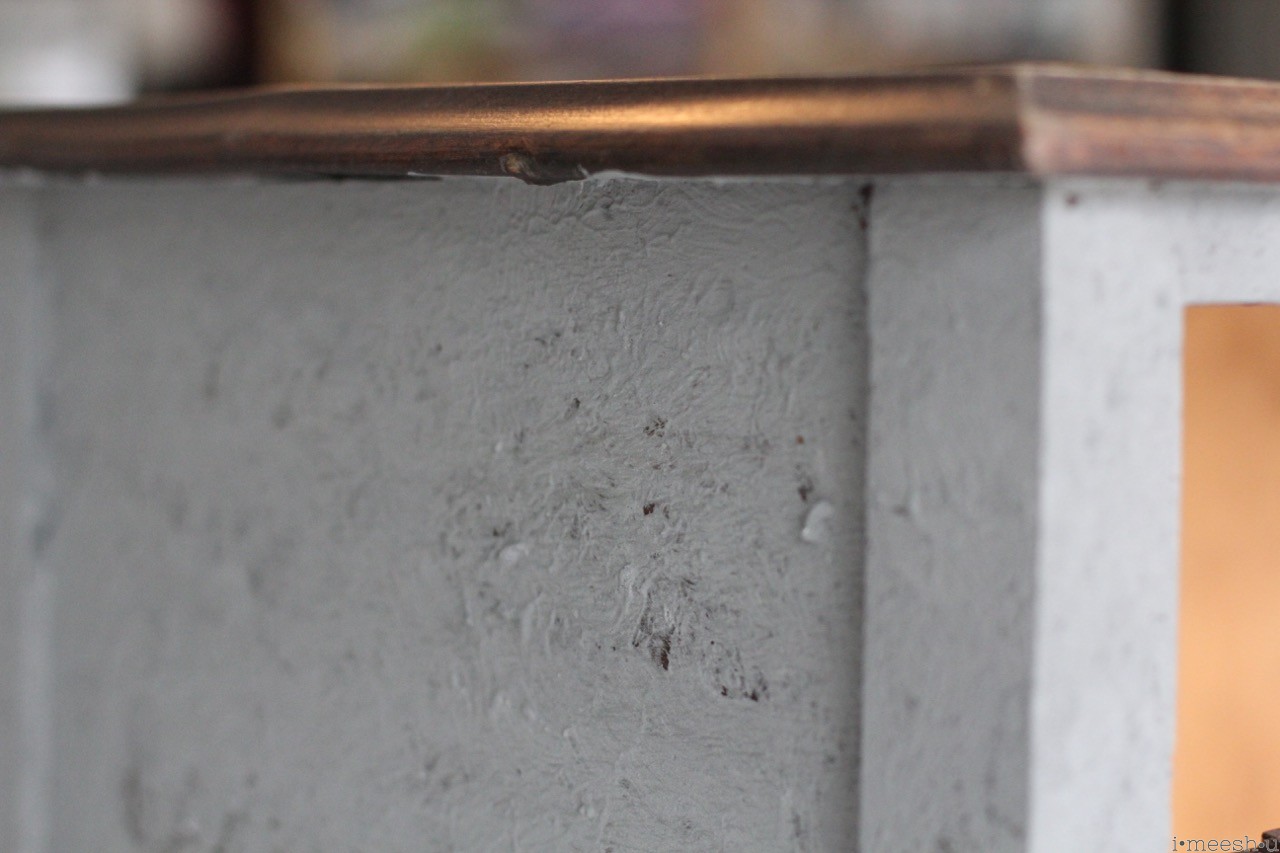
See that clumpy goodness? Yes!
For the top of my vanity, I started with an Annie Sloan Pure White + Saltwash base. Since the sink will sit atop in the center, I didn’t worry about making that section too gloopy.
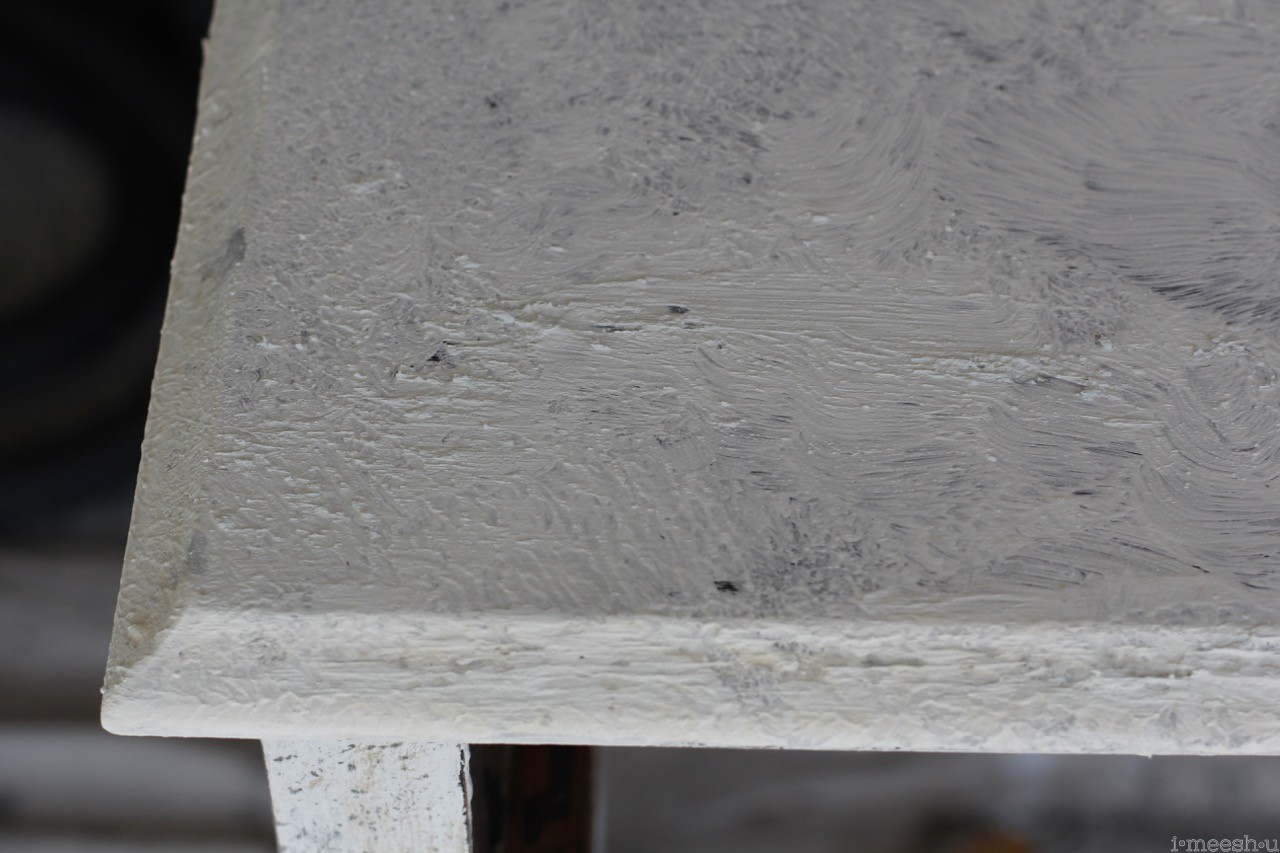
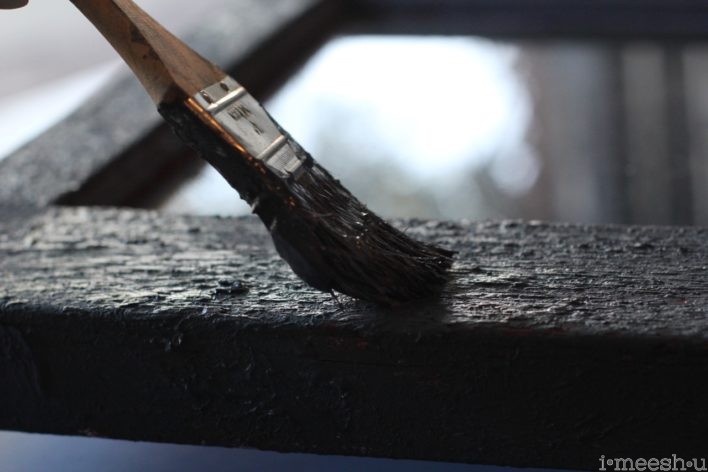
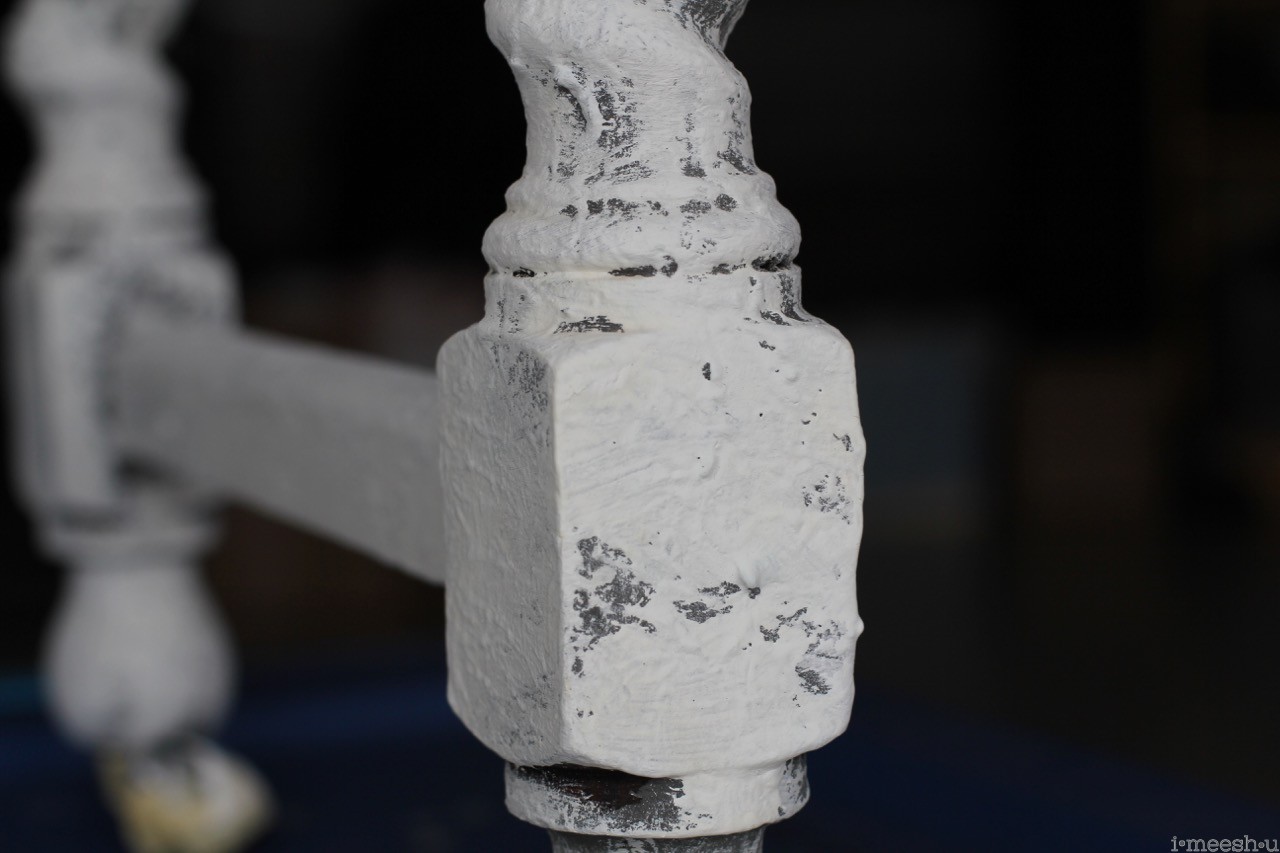
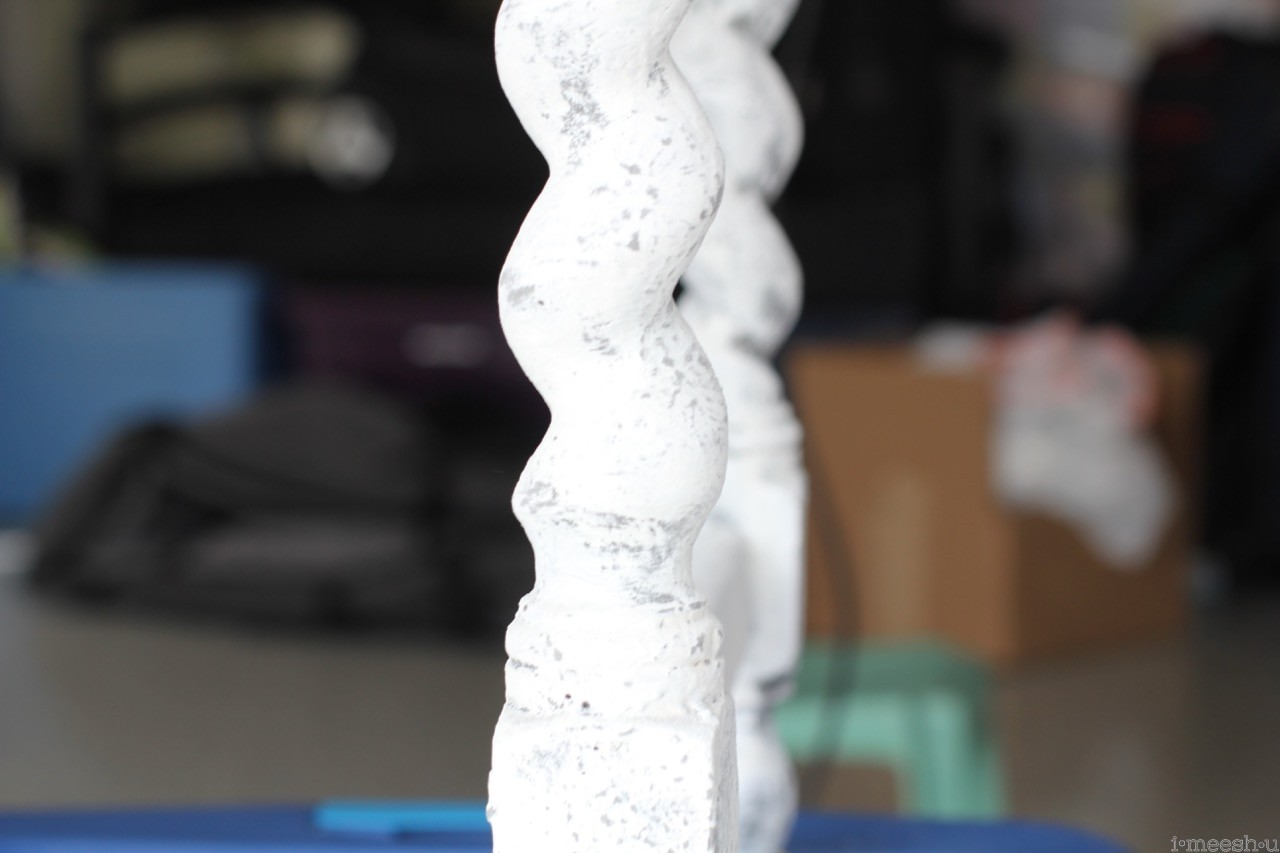
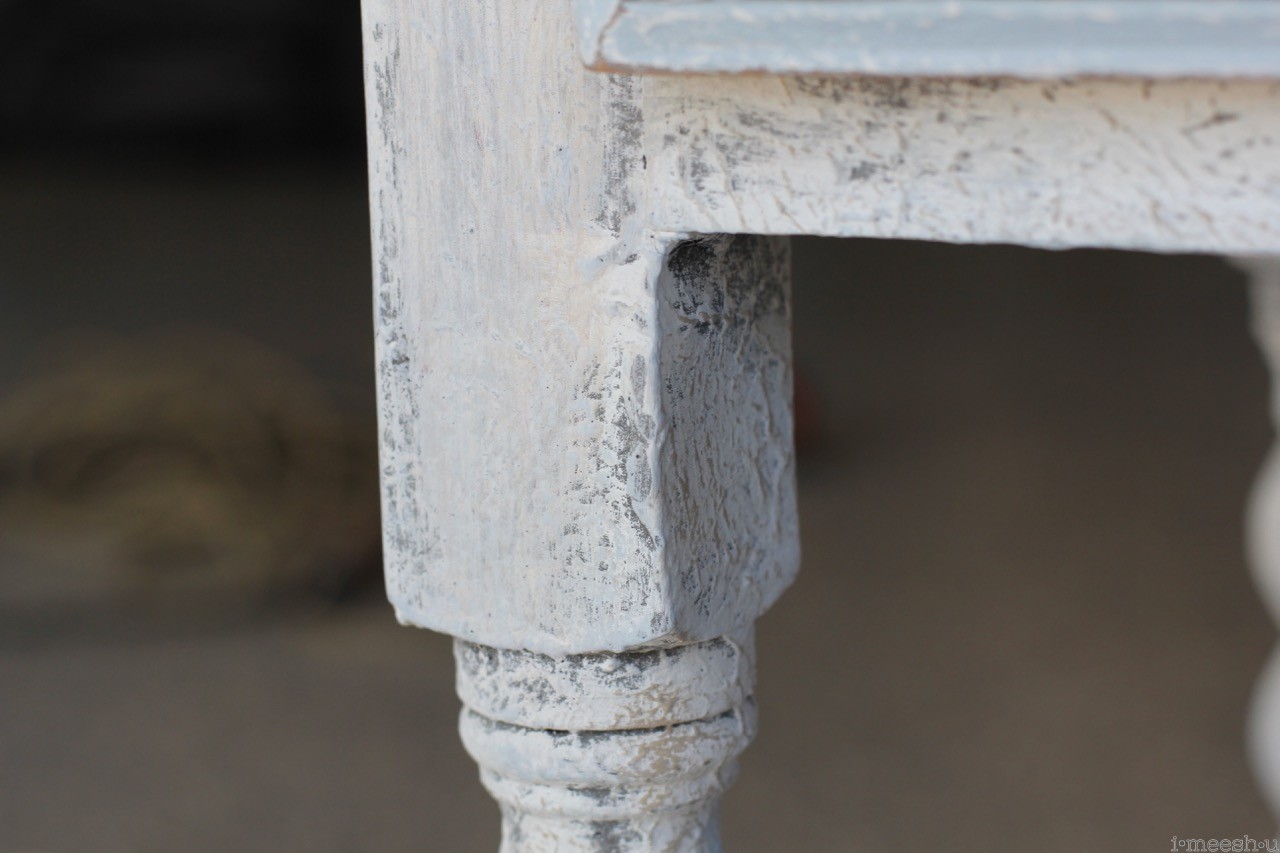
As the top paint layer dries, you start to see the texture from the Saltwash come through. And it’s amazing! I used a 220 grit sandpaper which worked really well to reveal the bottom Graphite color. I probably could’ve used a 180 with more grit, but 220 was all I had, and chalk paint is so powdery and easy to sand back.
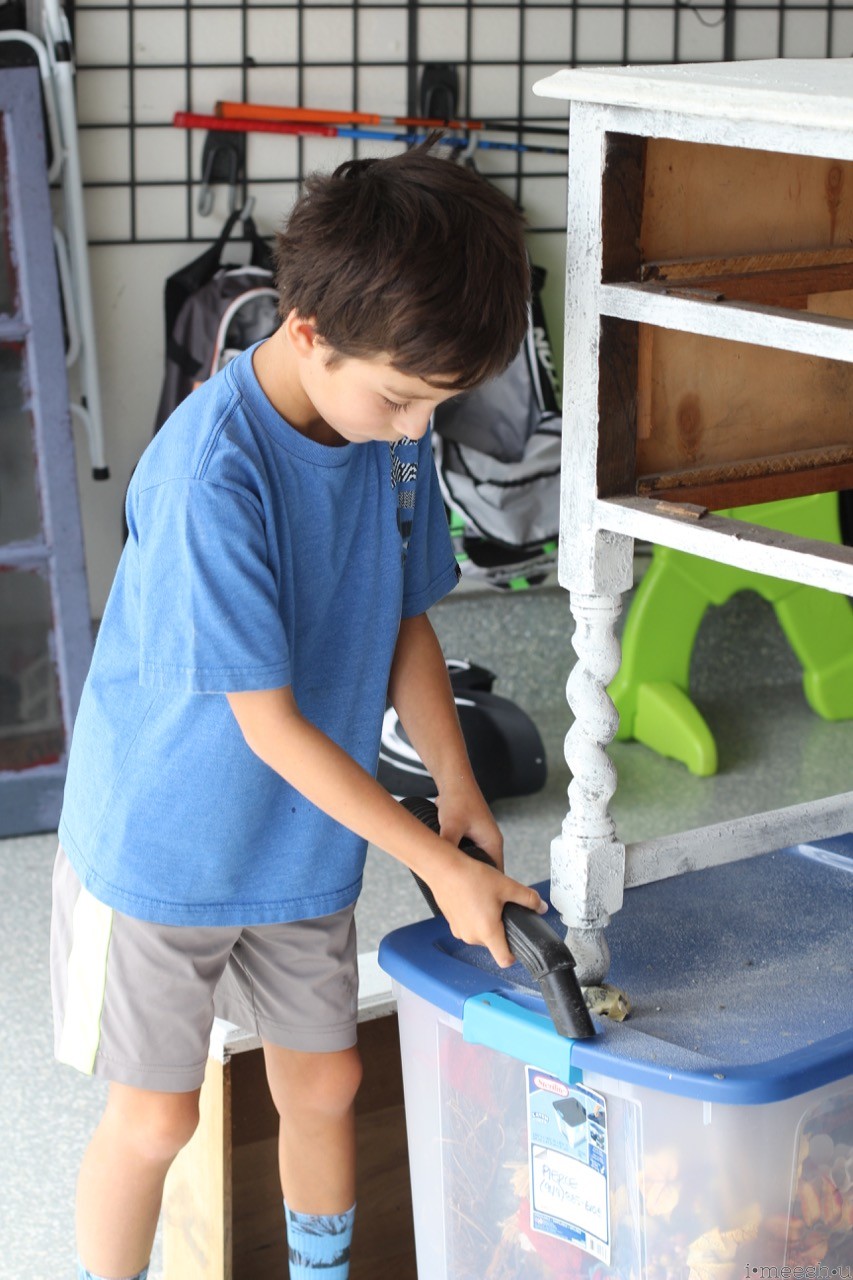
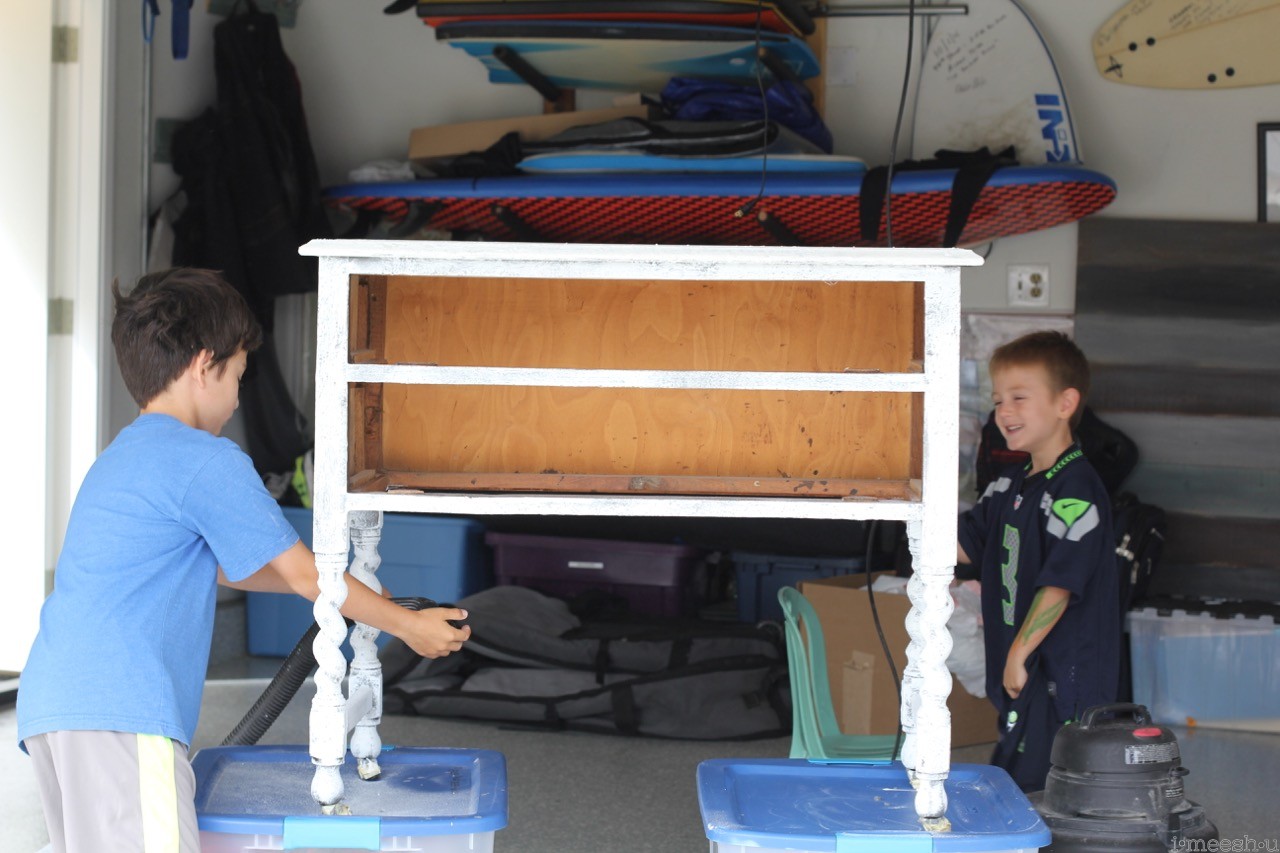
Then my helpers came by to sand and vacuum. These interns are good for about 10 minutes then it’s back to their street sports. 🙂
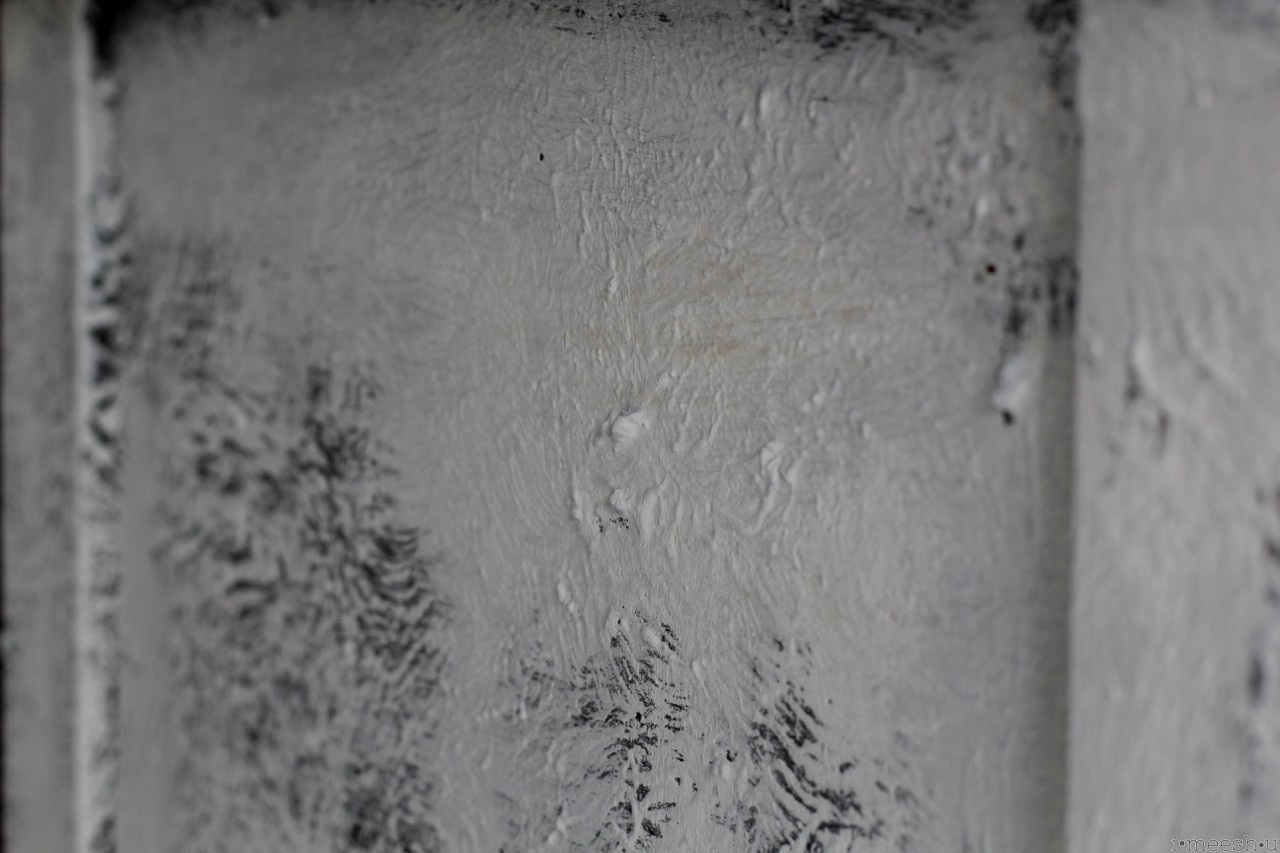
 Look at how the Graphite starts revealing itself!!
But I wanted more distress, so I kept sanding very gently.
I then started to dry brush some different layers of colors. I used Coco and Louis Blue to create even more depth. Dry brushing is when you make the paint super watery by adding water, dipping your paint brush into the mix, then wiping most of it off so that when you drag the paintbrush, just slight touches of the color appear.
If there’s too much paint on the brush when you’re dry brushing, just use a rag to wipe it off.
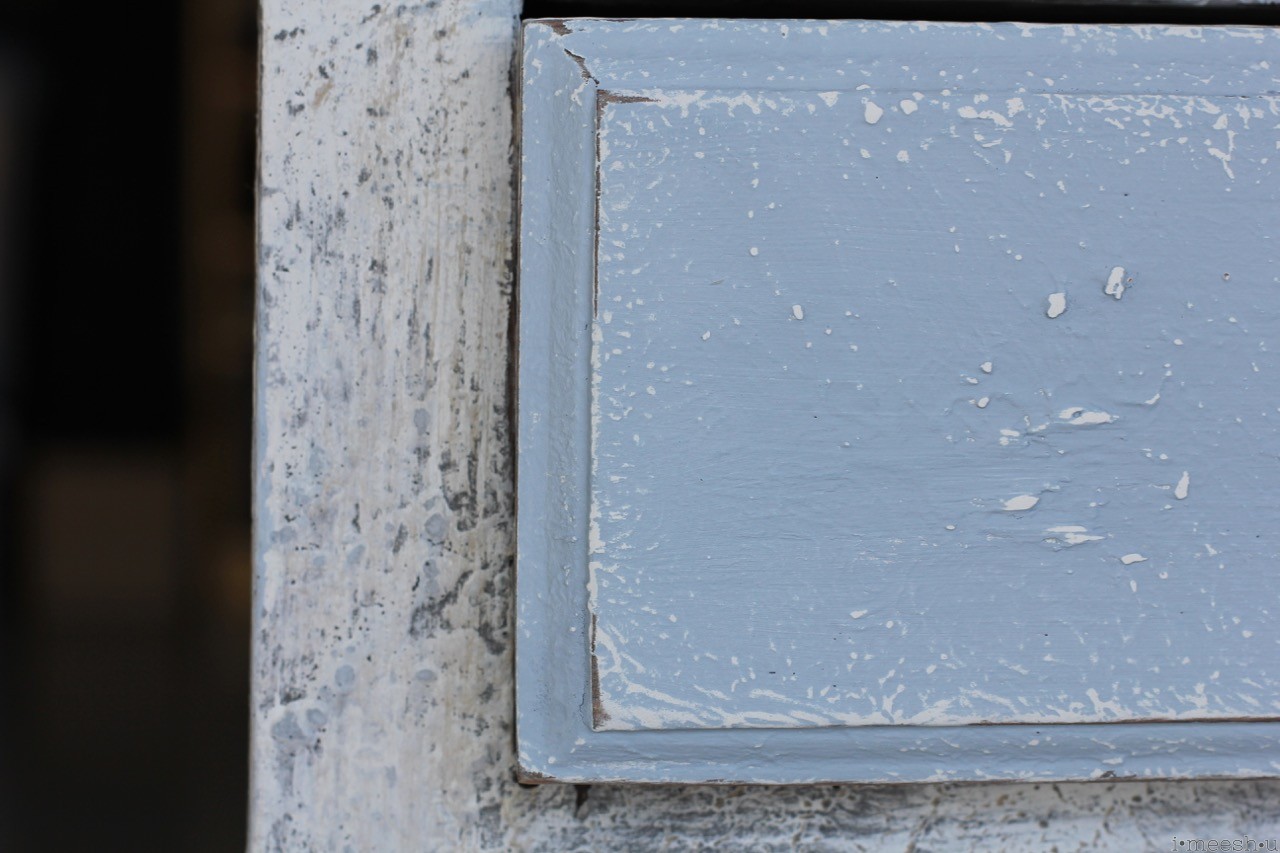
Then I painted the top and drawer fronts in Louis Blue atop the Saltwash + Pure White. And sanded to reveal the chippy, chunky goodness under the top layer. 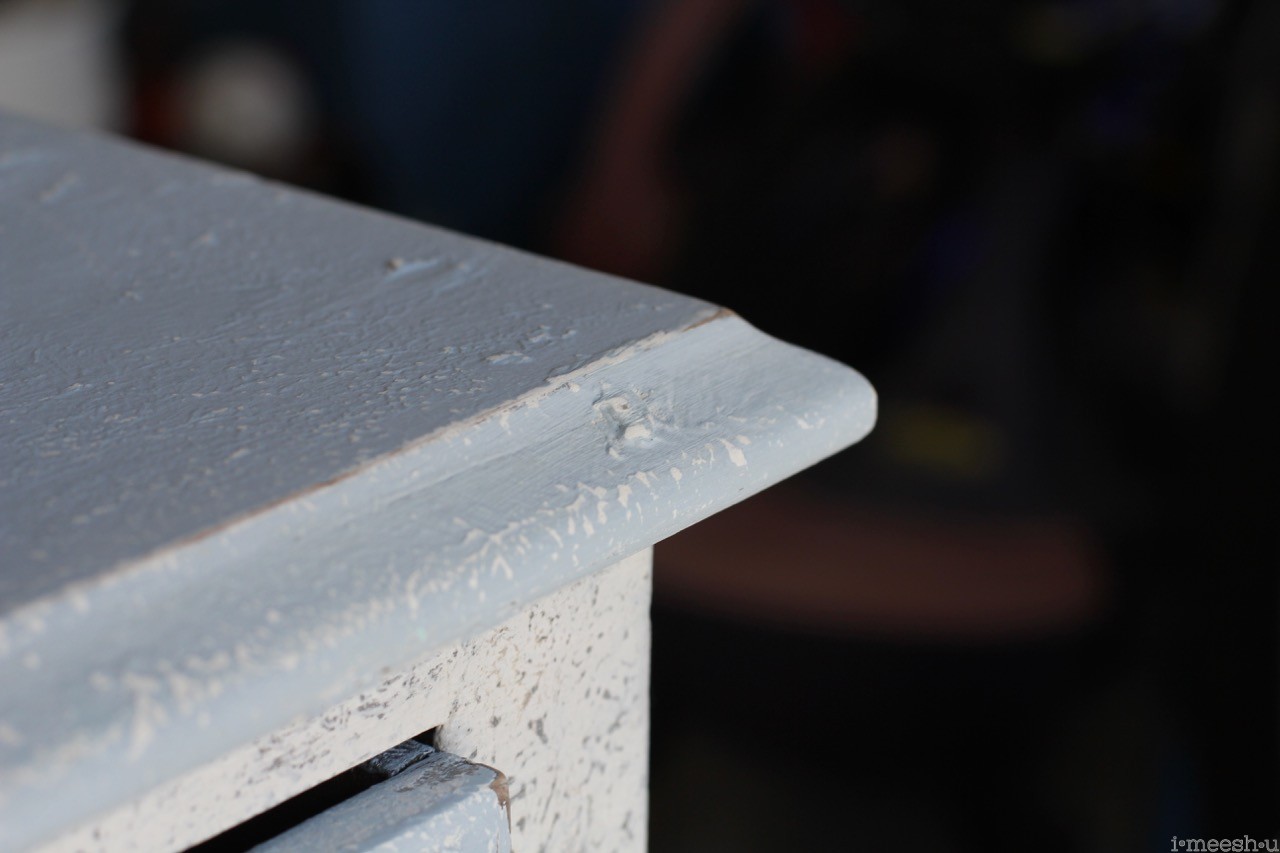
You guys! Seriously…this turned out perfectly!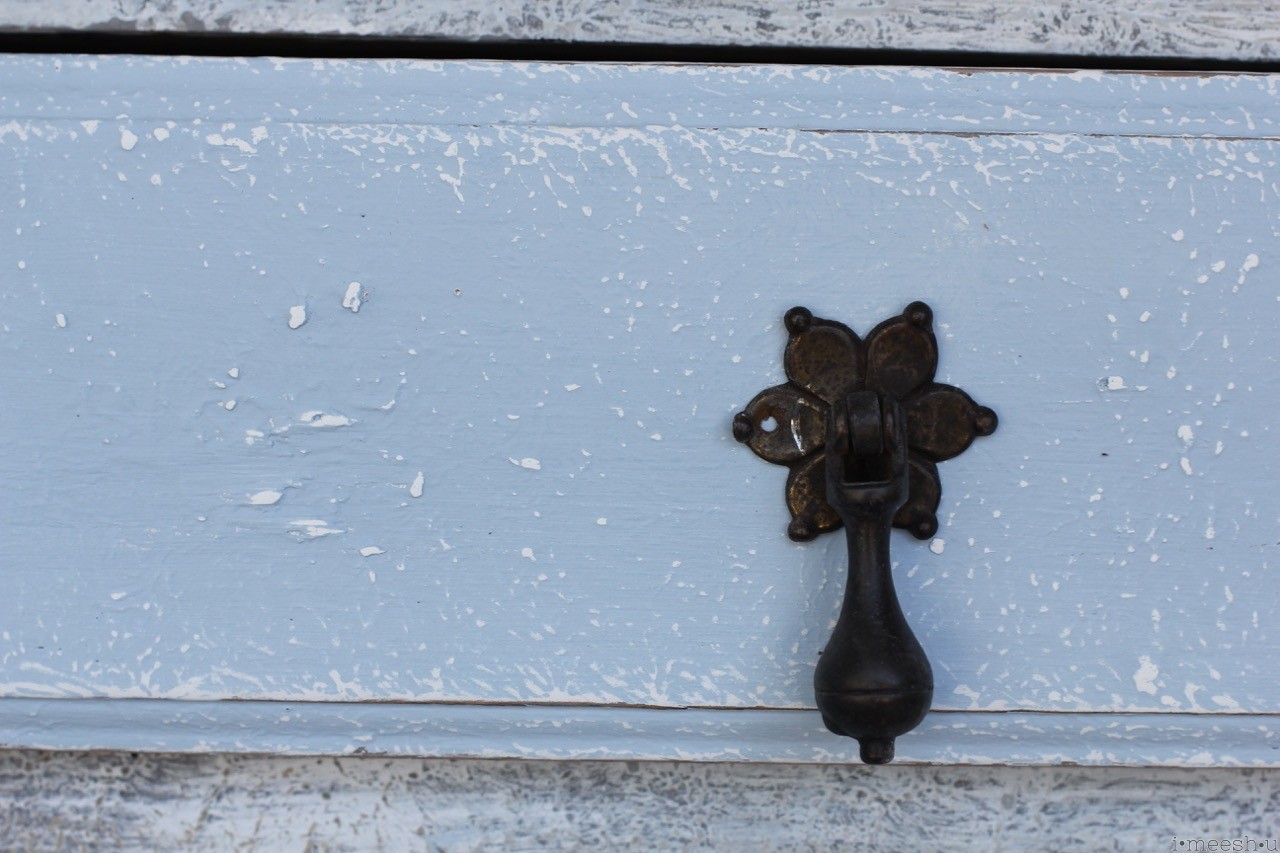
It’s so happy and beachy. 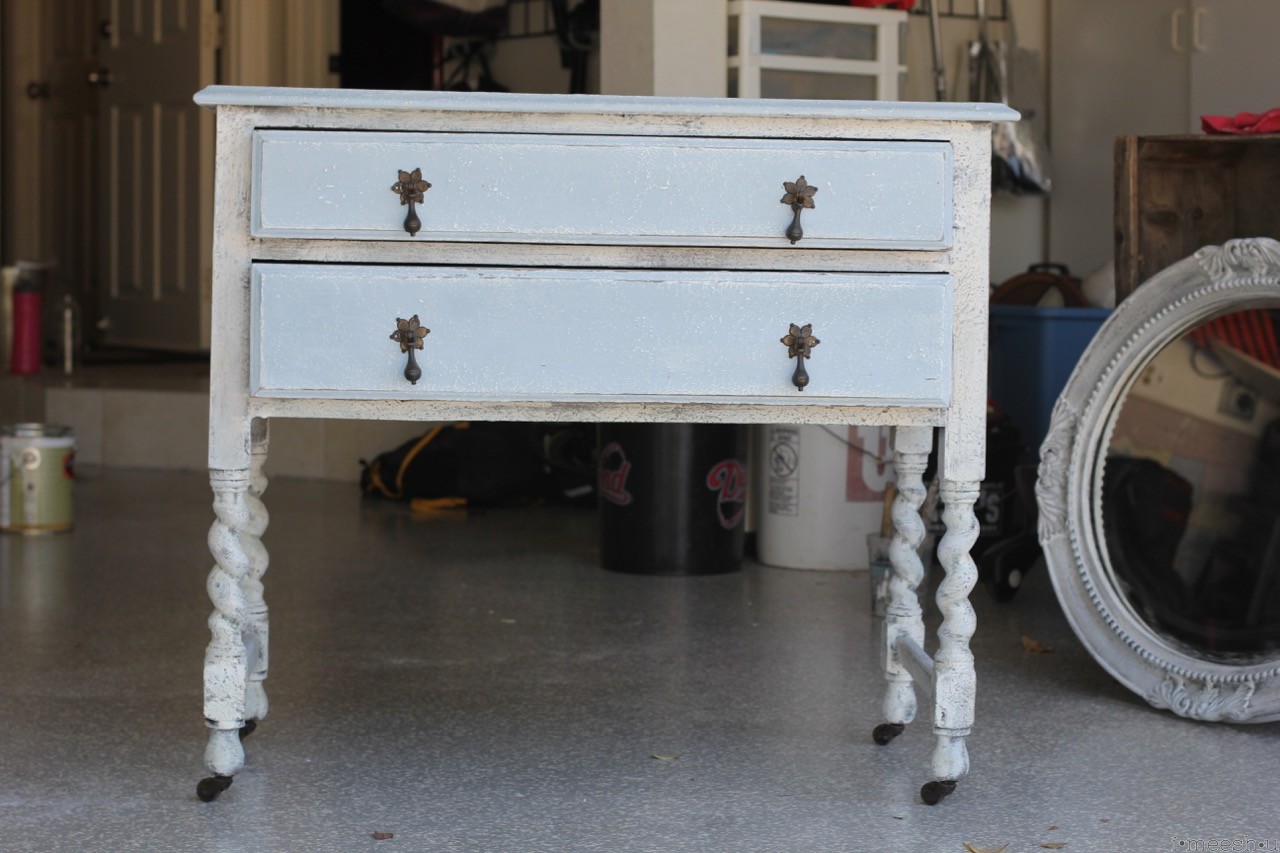
So if you’re looking for an easy way to turn any piece of furniture into a beachy look, Saltwash + chalk paint is a great option. No need to sand or strip to get started. Just paint and sand!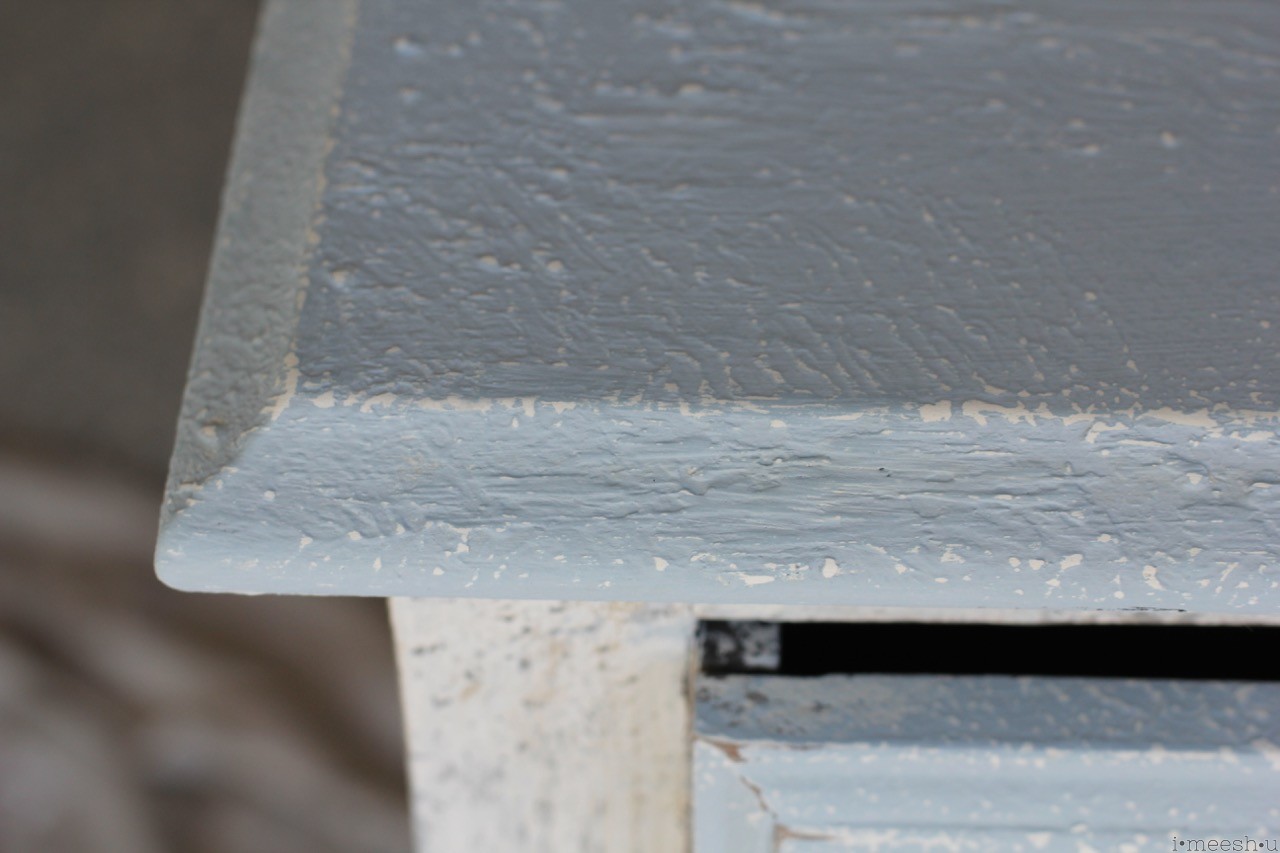
HUGE thanks to the Saltwash team for creating such a wonderful product! 🙂 I’ll post pix of the new bathroom once it’s done in the next few days.